Let’s be honest. Not everyone owns a sewing machine. And even if you do, threading the needle can feel like a workout. The good news? You don’t need to know how to sew to make cool stuff for your closet.
These projects take less than 30 minutes. You only need a few basic supplies scissors, fabric glue, maybe an old t-shirt or two. That means you can create something new during a lunch break or while watching one episode of your favorite show.
Why This Topic Matters
Fast fashion is expensive, and most clothes don’t last long anyway. When you learn a few no-sew tricks, you stop throwing away shirts with small stains or weird fits. You start fixing things.
You also save money because you’re not buying new clothes for every season. Plus, making something with your own hands feels good. It’s not about being perfect. It’s about being creative with what you already have.
Main Content: 13 No-Sew DIY Clothing Ideas
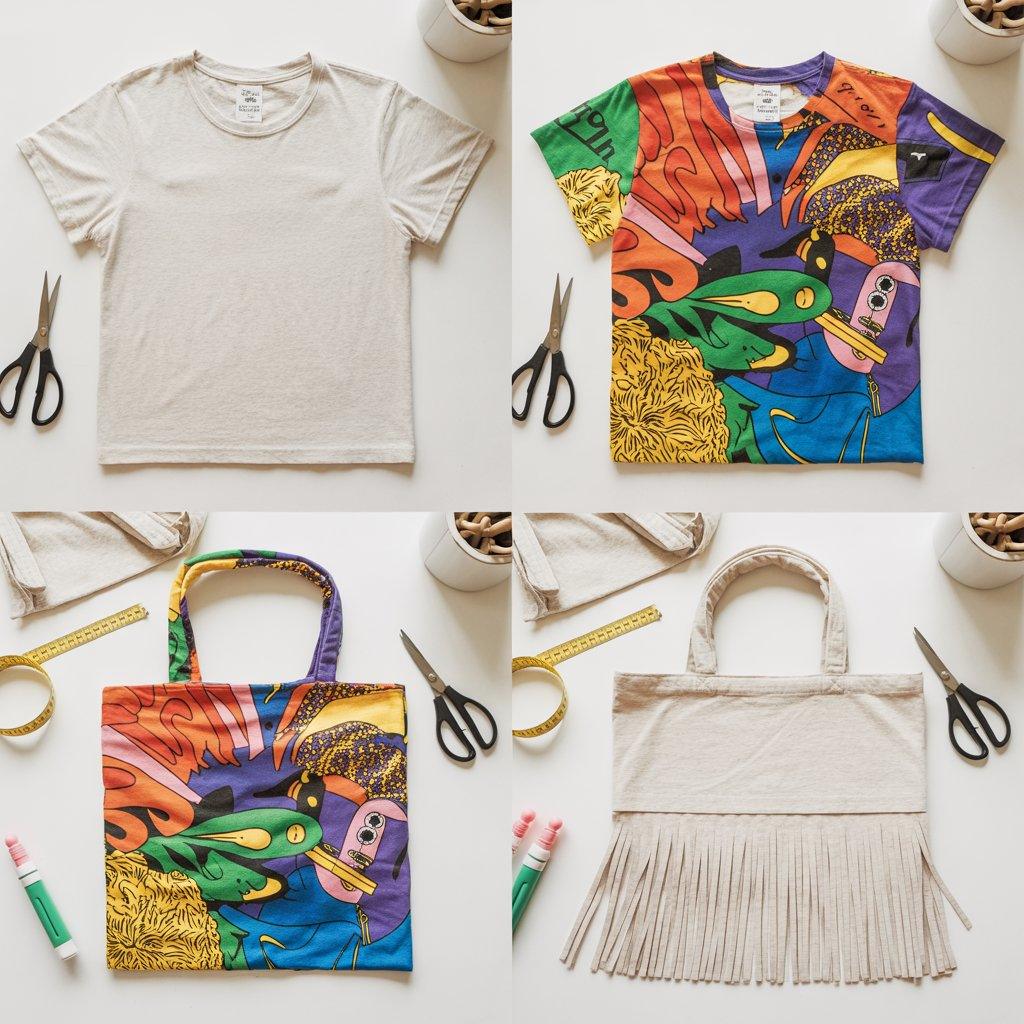
1. Turn an Old T-Shirt Into a No-Sew Tote Bag
This is one of the easiest no-sew DIY clothing ideas out there. Grab a cotton t-shirt the bigger, the better. Lay it flat and cut off the sleeves along the seam line.
Those become your handles. Next, cut around the neckline to make a wider opening. Then, cut vertical strips about one inch wide from the bottom hem up about six inches. Pair the front and back strips and double-knot each pair. Flip the bag inside out so the knots are hidden.
That’s it. You now have a reusable tote bag that can carry a gallon of milk or a laptop. Use a shirt with a cool graphic for extra personality. This project takes about ten minutes and costs nothing.
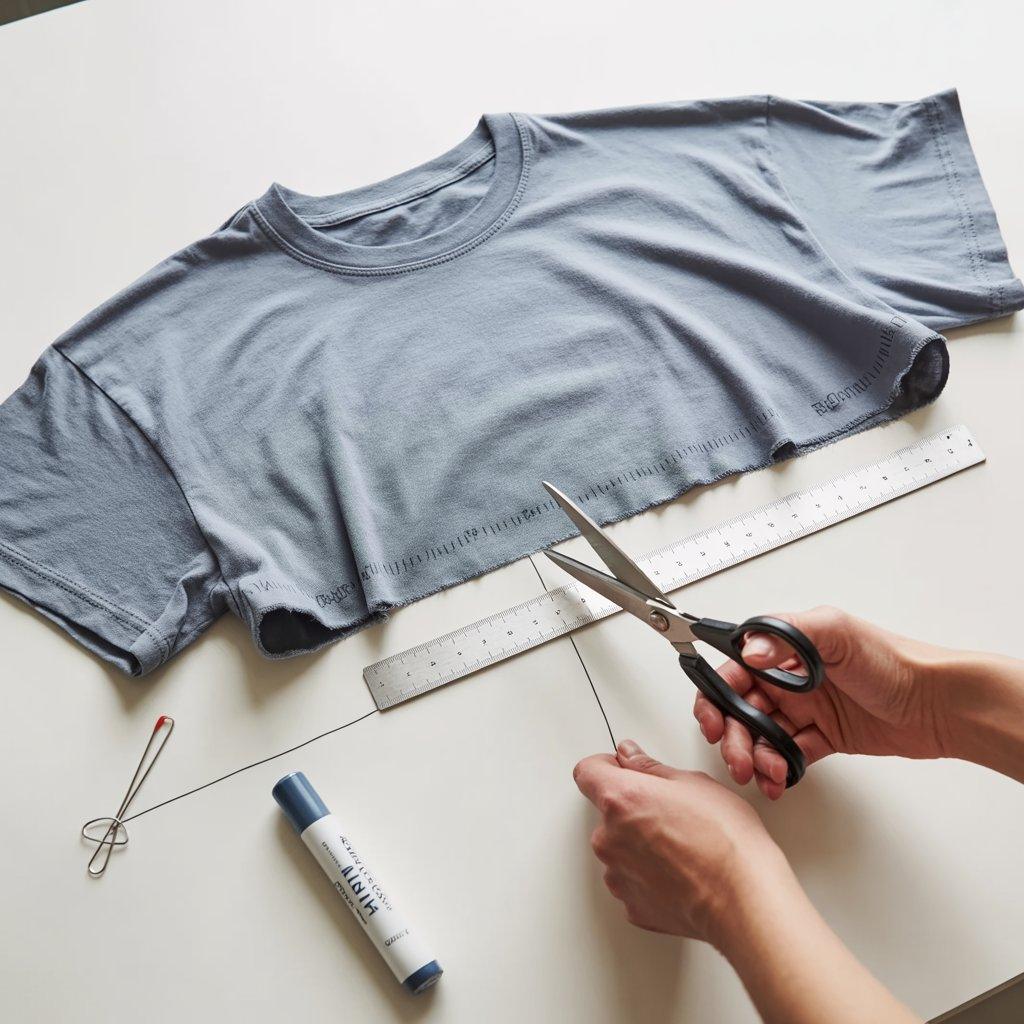
2. Make a Crop Top With Just One Cut
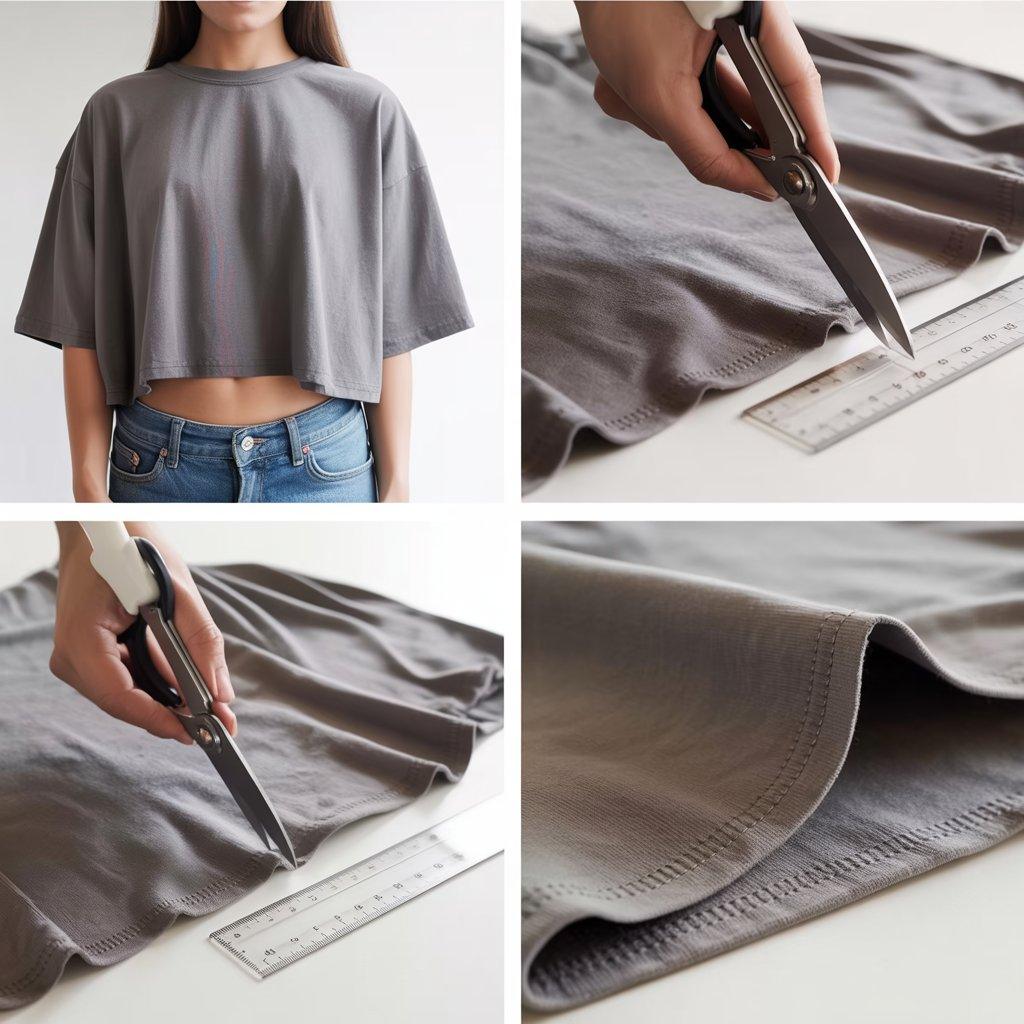
You don’t need to be a fashion designer to make a crop top. Put on an oversized t-shirt and decide how short you want it. Mark that spot with a pin or washable marker. Take the shirt off and lay it flat.
Use a ruler to draw a straight line across where you marked. Cut along that line through both layers. That’s it. The raw edge will curl naturally, so you don’t even need to hem it.
If you’re nervous about cutting, try the knot method first: pull the extra fabric to one side and tie a snug knot at your hip. Wear it like that for a while. If you love the look, cut it later.
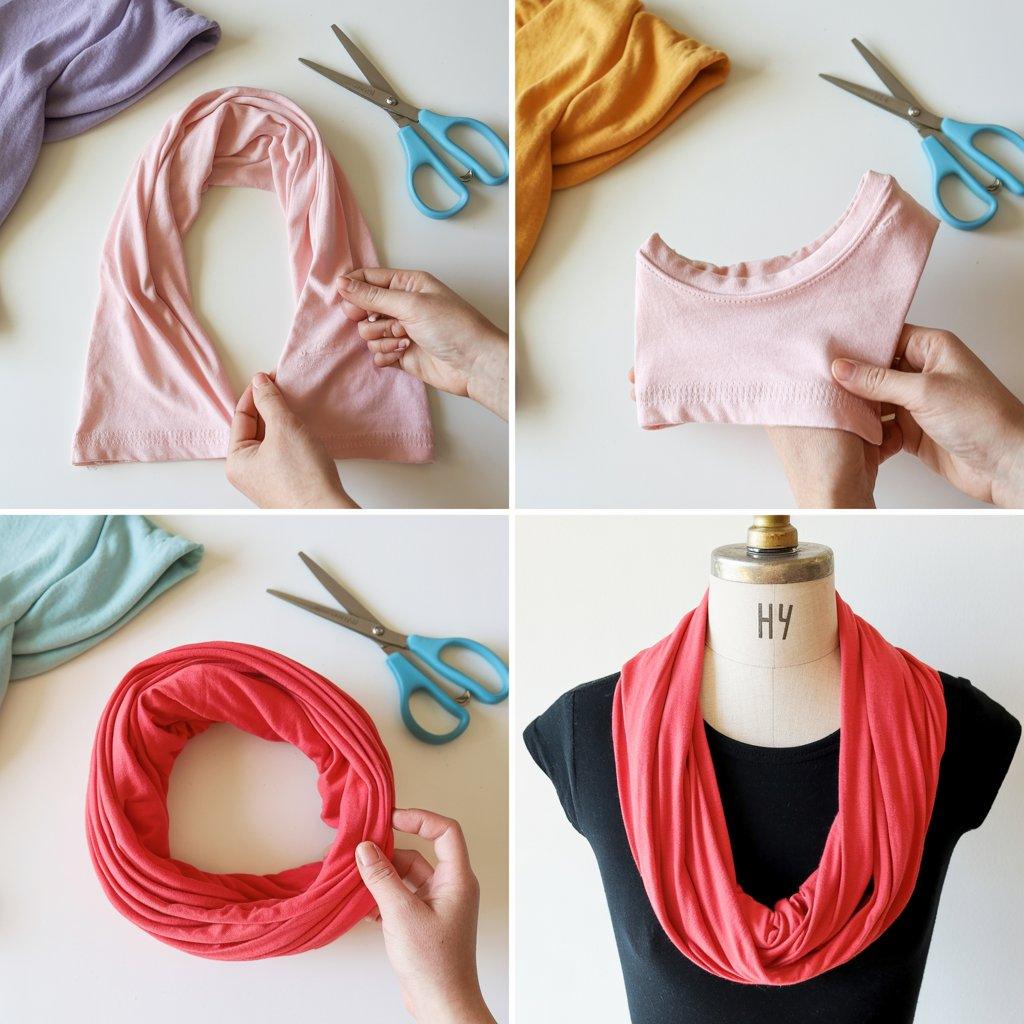
3. Create a No-Sew Infinity Scarf
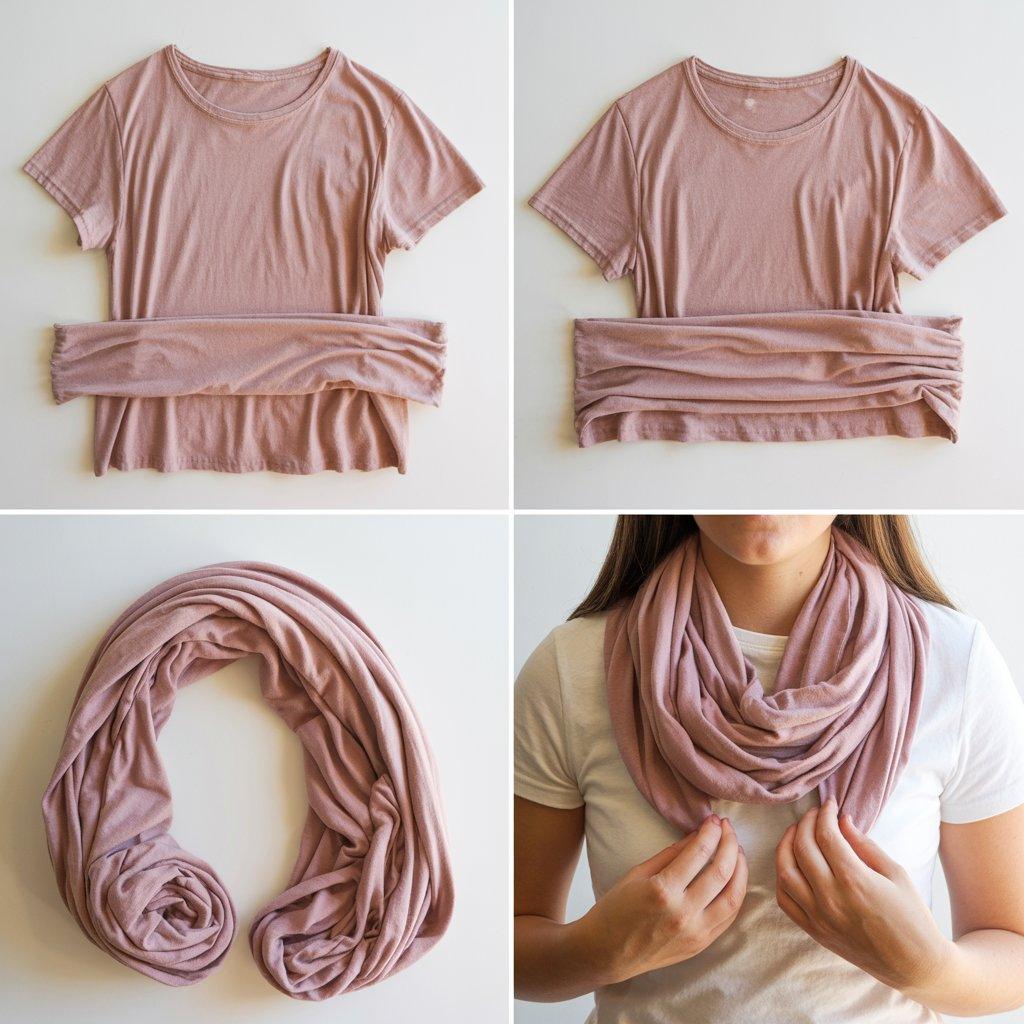
An infinity scarf is basically a loop of fabric you can wear a dozen different ways. To make one, grab an old t-shirt preferably a larger size. Cut straight across just below the armpits and just above the bottom hem.
You’ll be left with a tube of fabric. Stretch it gently to make the edges curl. That’s it. You don’t even need glue. The fabric’s natural stretch keeps everything in place.
Wear it long, doubled up, or wrapped around your neck like a cowl. This project takes about five minutes. You can make several from different colored shirts and swap them out depending on your outfit.
4. Transform a Pillowcase Into a Mini Skirt
This one sounds weird but it actually works. Take a standard pillowcase and cut it open along one side seam. Wrap it around your waist like a tube skirt. Secure the open edge with safety pins or fabric glue.
Add a belt or ribbon to hold it in place and hide the seam. That’s really all there is to it. The pillowcase fabric is usually soft cotton, so it drapes nicely.
This works best as a casual skirt for the beach or lounging around the house. If you want to dress it up, choose a pillowcase with a fun pattern or embroidery. The whole thing takes about ten minutes.
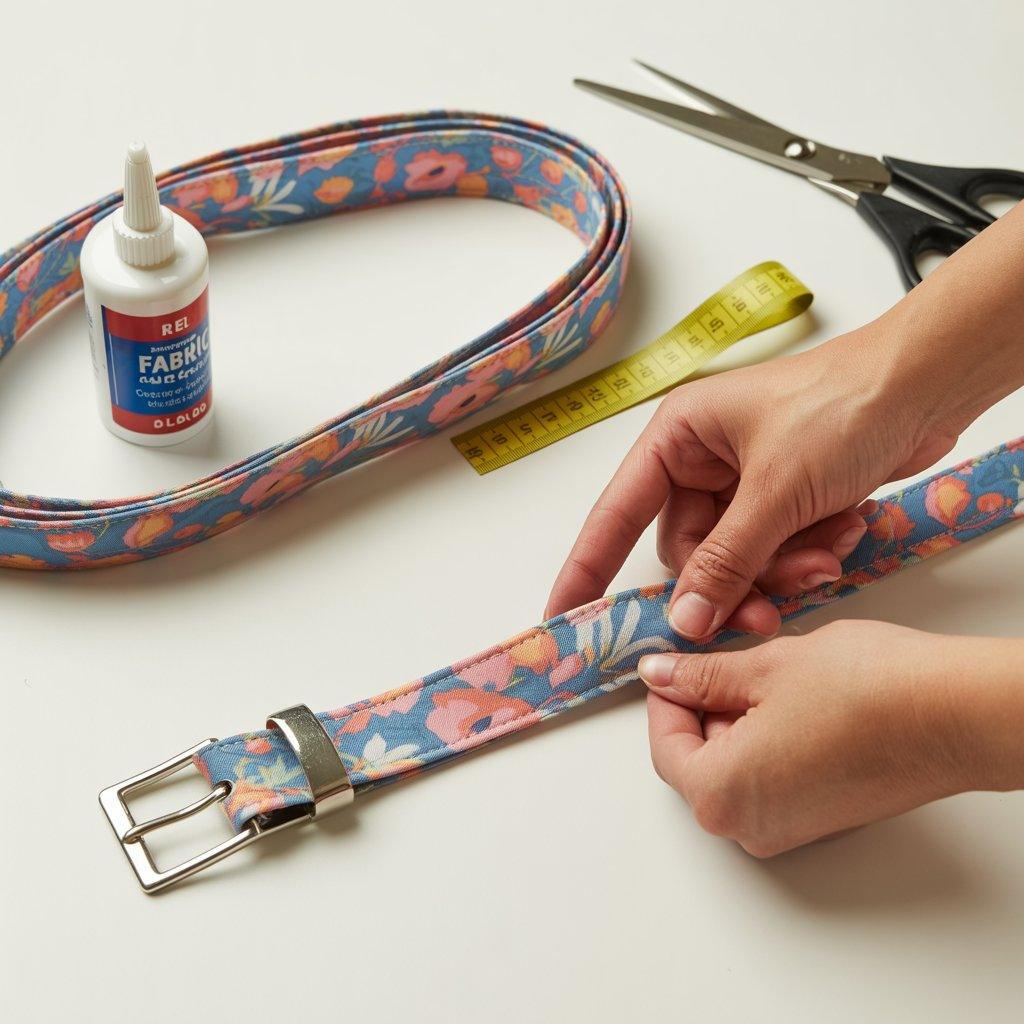
5. Make a No-Sew Fabric Belt
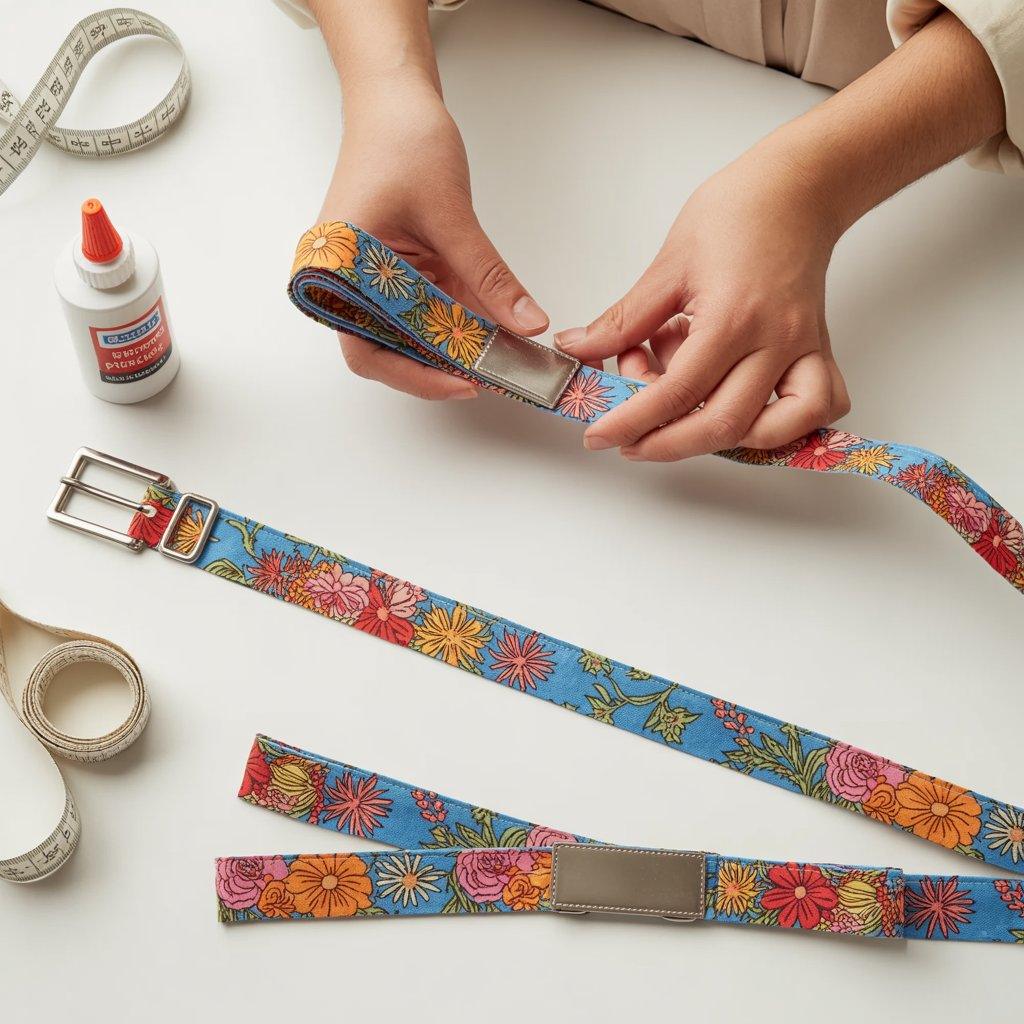
A fabric belt can pull an entire outfit together. Measure your waist where you want the belt to sit. Cut a strip of fabric twice as wide as you want the finished belt to be and about six inches longer than your waist measurement.
Fold the fabric in half lengthwise with the wrong sides together. Run a line of fabric glue along the open edge and press it closed. Let it dry completely. Once dry, attach a buckle by folding one end through the buckle and gluing it down.
For a simpler version, skip the buckle and use two long fabric strips as ties. Loop them through small fabric tabs glued to each end of the belt.
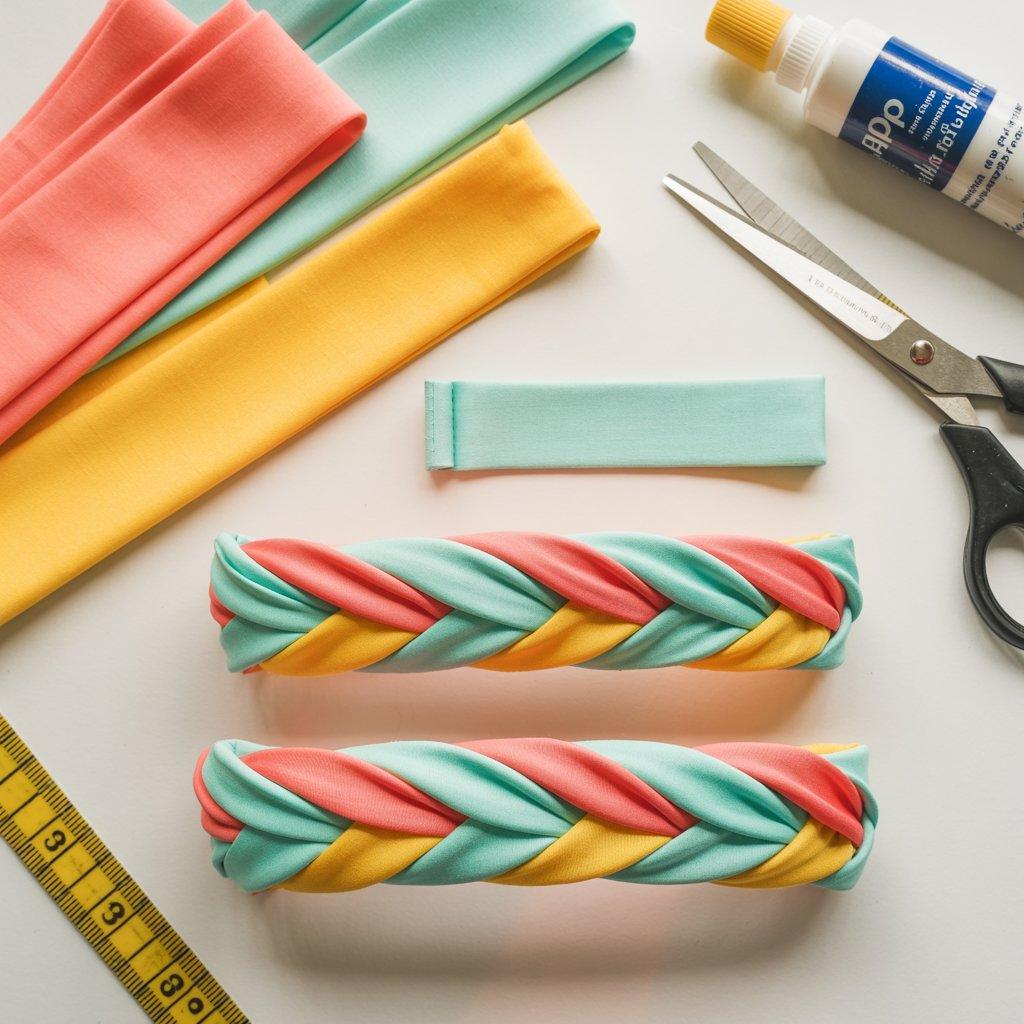
6. Create a No-Sew Headband
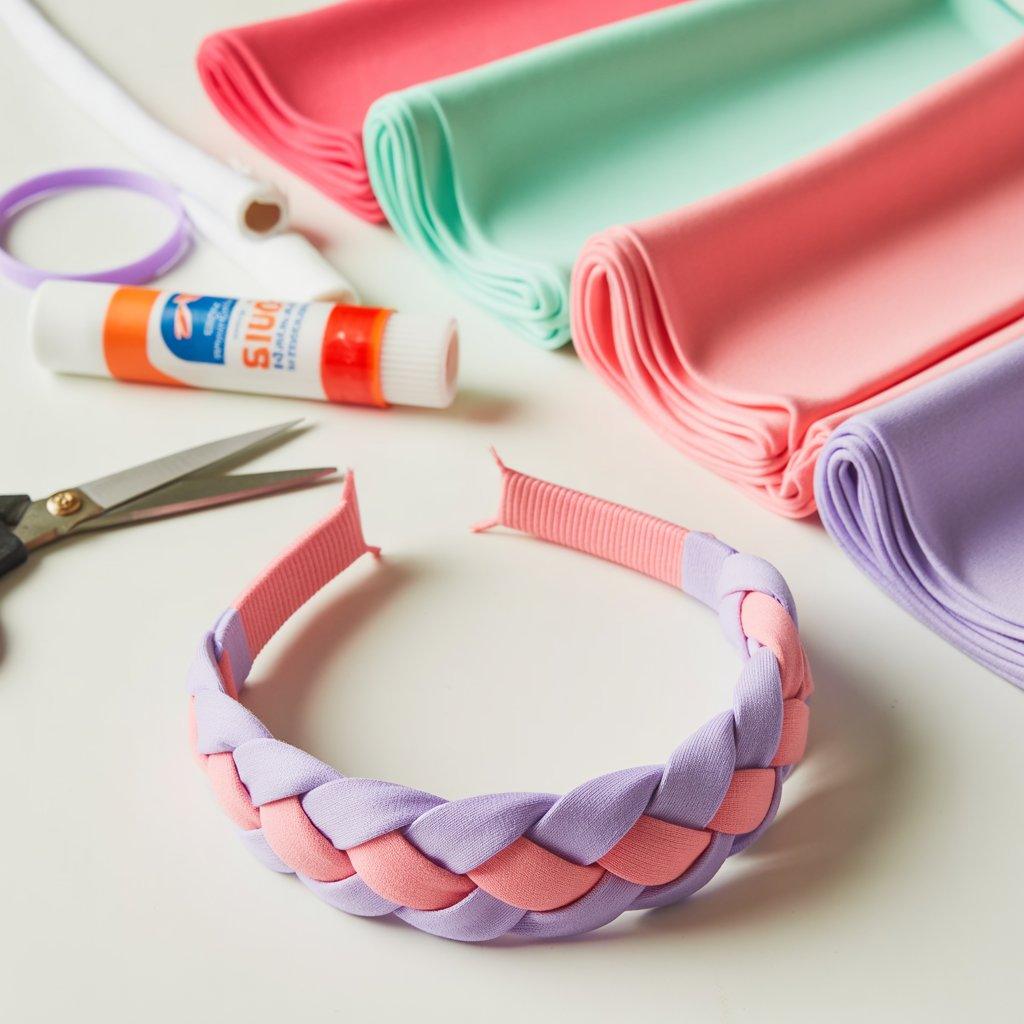
Headbands are one of the quickest no-sew accessories you can make. For a simple fabric headband, cut a strip of stretchy fabric (jersey knit works great) about 20 inches long and three inches wide.
Fold it in half lengthwise with the right sides facing each other. Glue along the long edge. Turn it right side out. Insert a piece of elastic that fits your head, then glue the ends closed. For an even easier option, try a braided headband.
Cut three strands of fabric in different colors. Tie a knot at one end, braid them tightly, then knot the other end. Glue the knots to keep them from unraveling. Wear it to keep hair off your face on hot days.
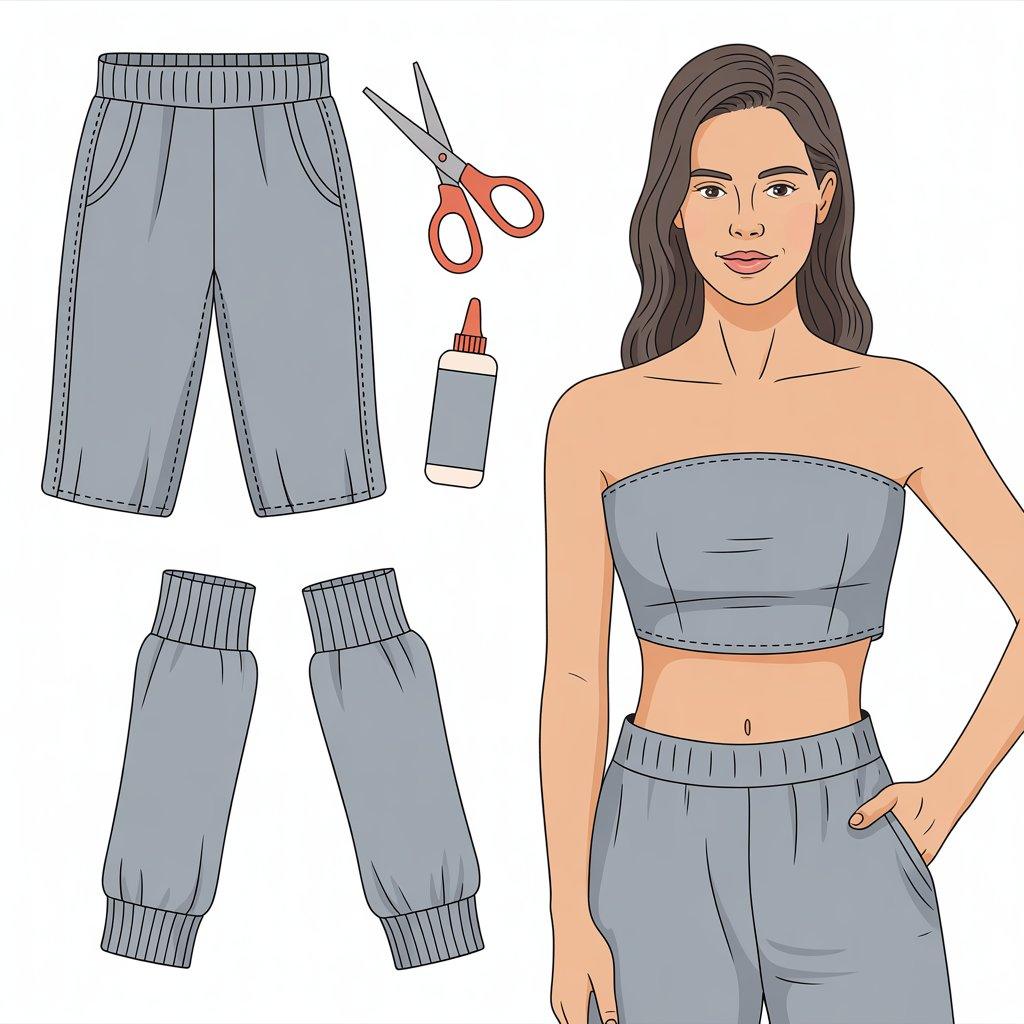
7. Turn Sweatpants Into a Tube Top
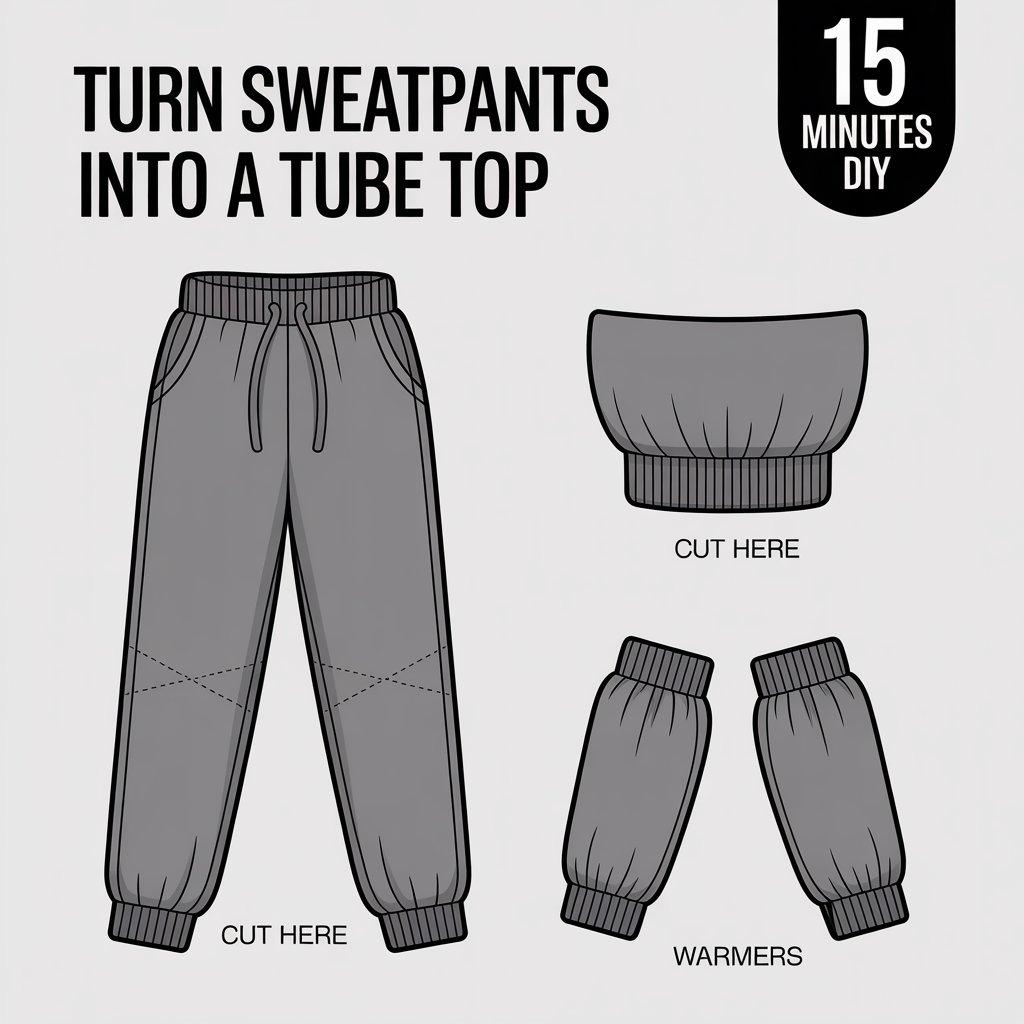
Old sweatpants can become a trendy tube top in about fifteen minutes. Lay the sweatpants flat. Cut straight across the legs just below the crotch seam. The top part the waistband section becomes your tube top.
Fold the cut edge under about one inch and secure it with fabric glue. The waistband naturally hugs your chest, so you don’t need extra fasteners. For bonus points, use the legs to make matching arm warmers.
Cut them to your desired length and snip a small slit near the top for your thumb. This look works great for concerts, festivals, or layering over a tank top on cooler summer nights.
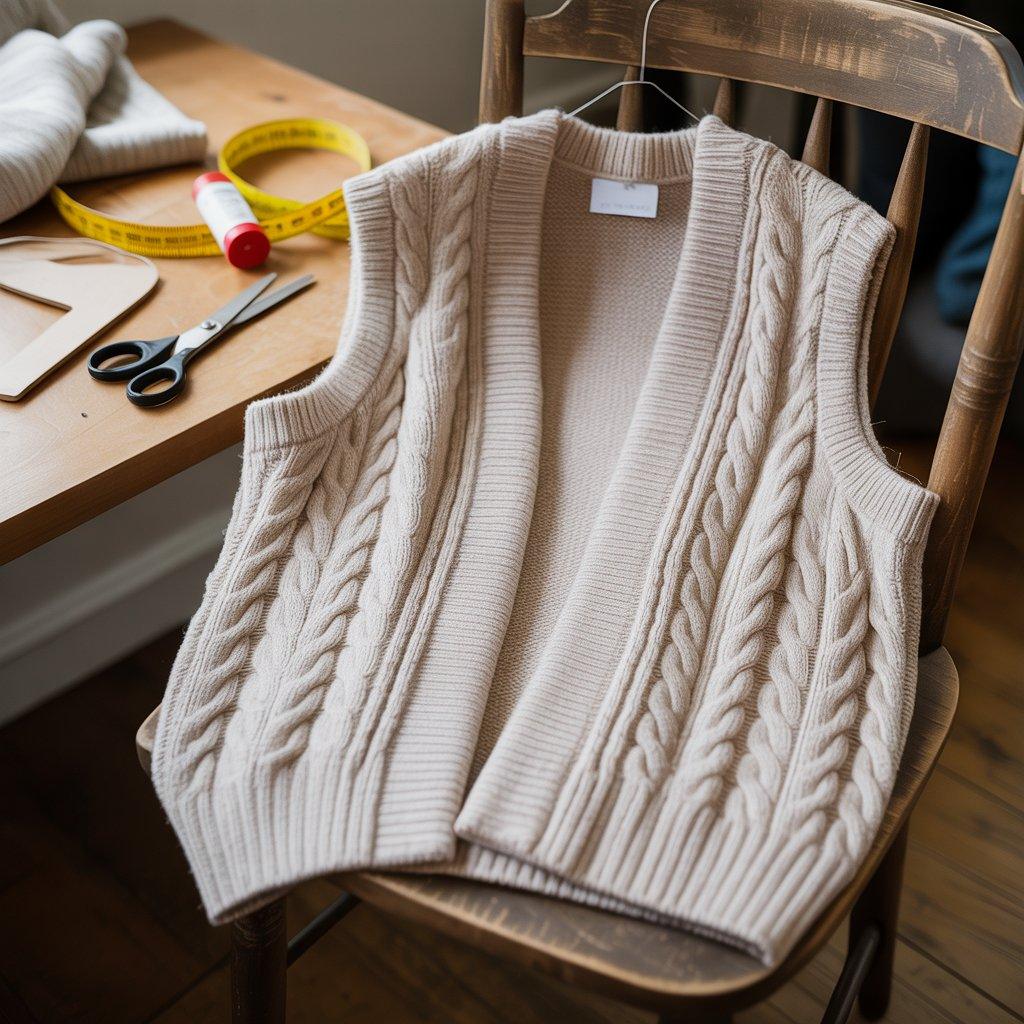
8. Make a No-Sew Vest From an Old Sweater
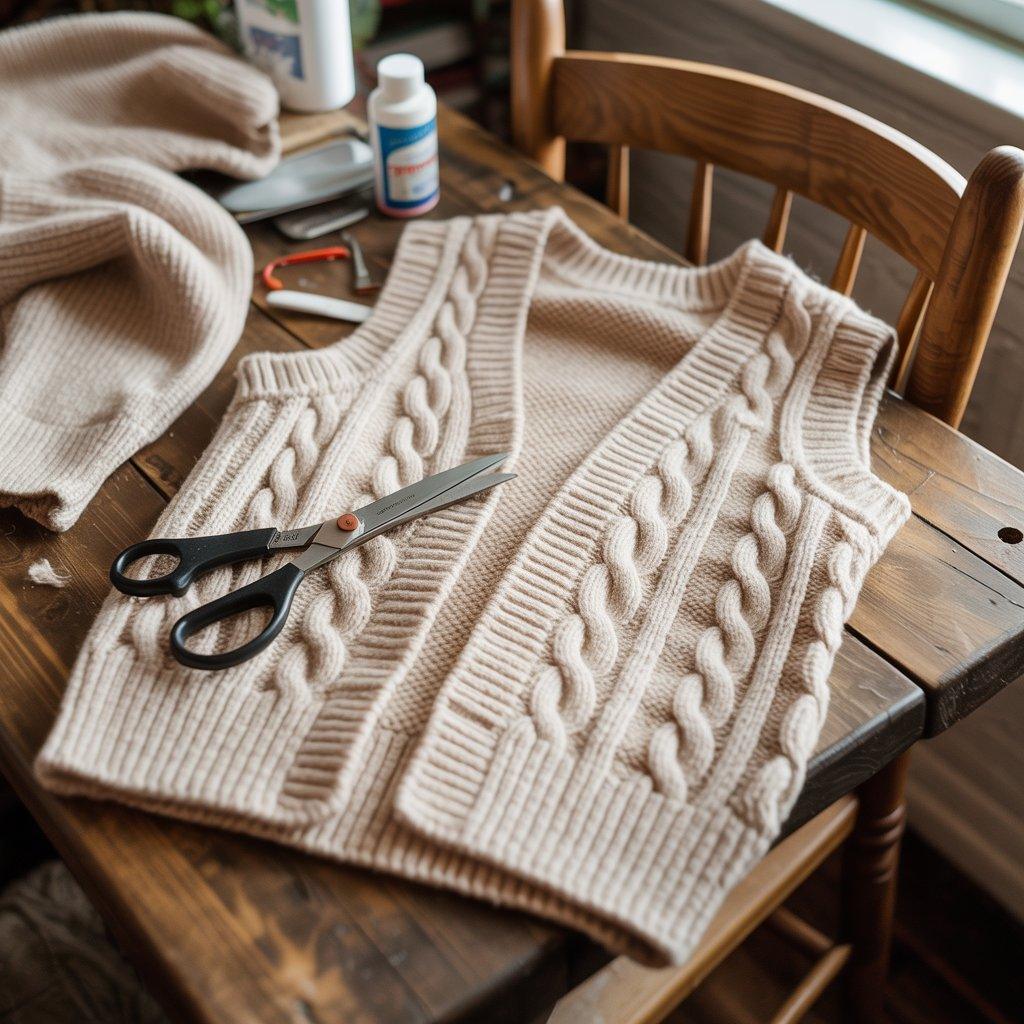
Got a sweater that’s too snug or stretched out? Turn it into a vest. Lay the sweater flat. Cut straight up from the bottom hem to the underarm on both sides. Then cut across from the underarm to the collar, removing the sleeves.
That’s it. You don’t even need to hem the edges because knit fabric doesn’t fray. For a cleaner look, you can run a line of fabric glue along the cut edges. Wear the vest over a long-sleeve shirt or a turtleneck when the weather gets chilly.
This works especially well with cable-knit sweaters or thrifted wool pieces. The whole project takes about ten minutes.
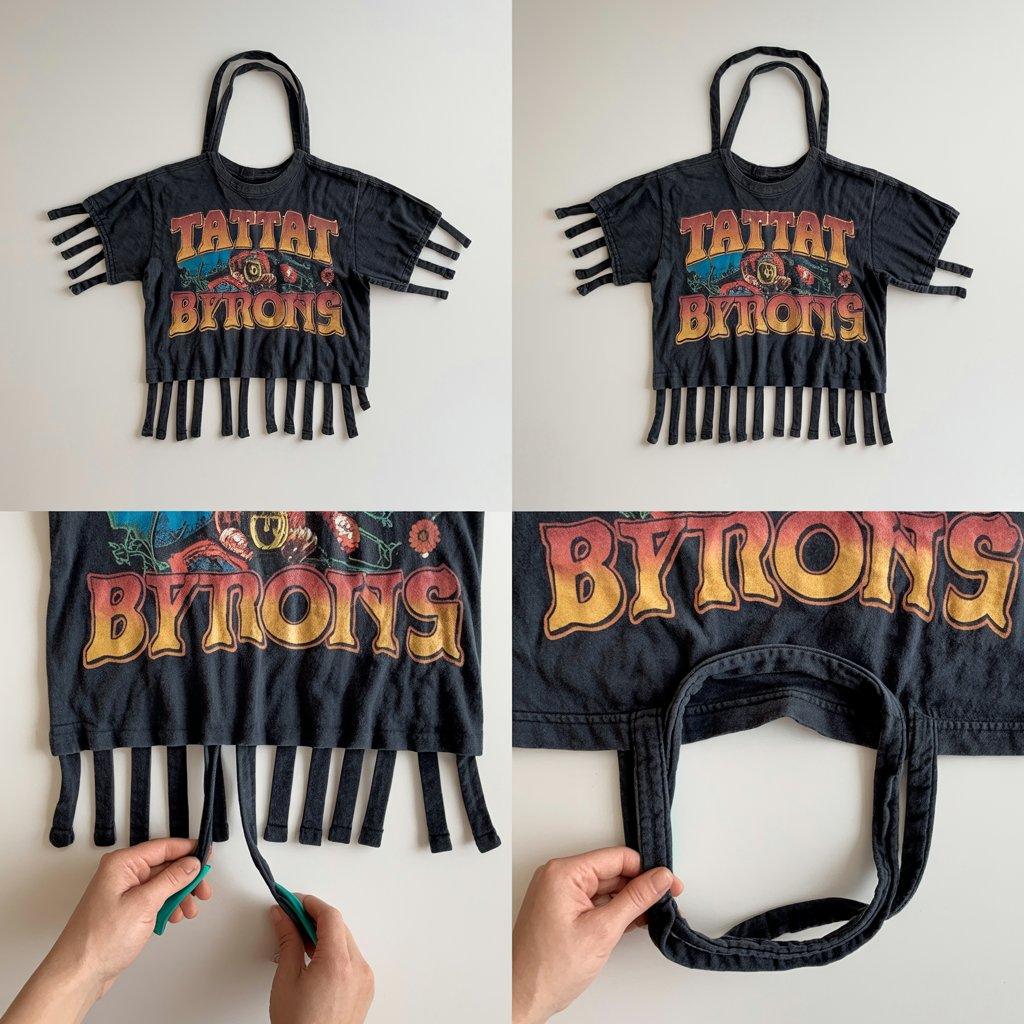
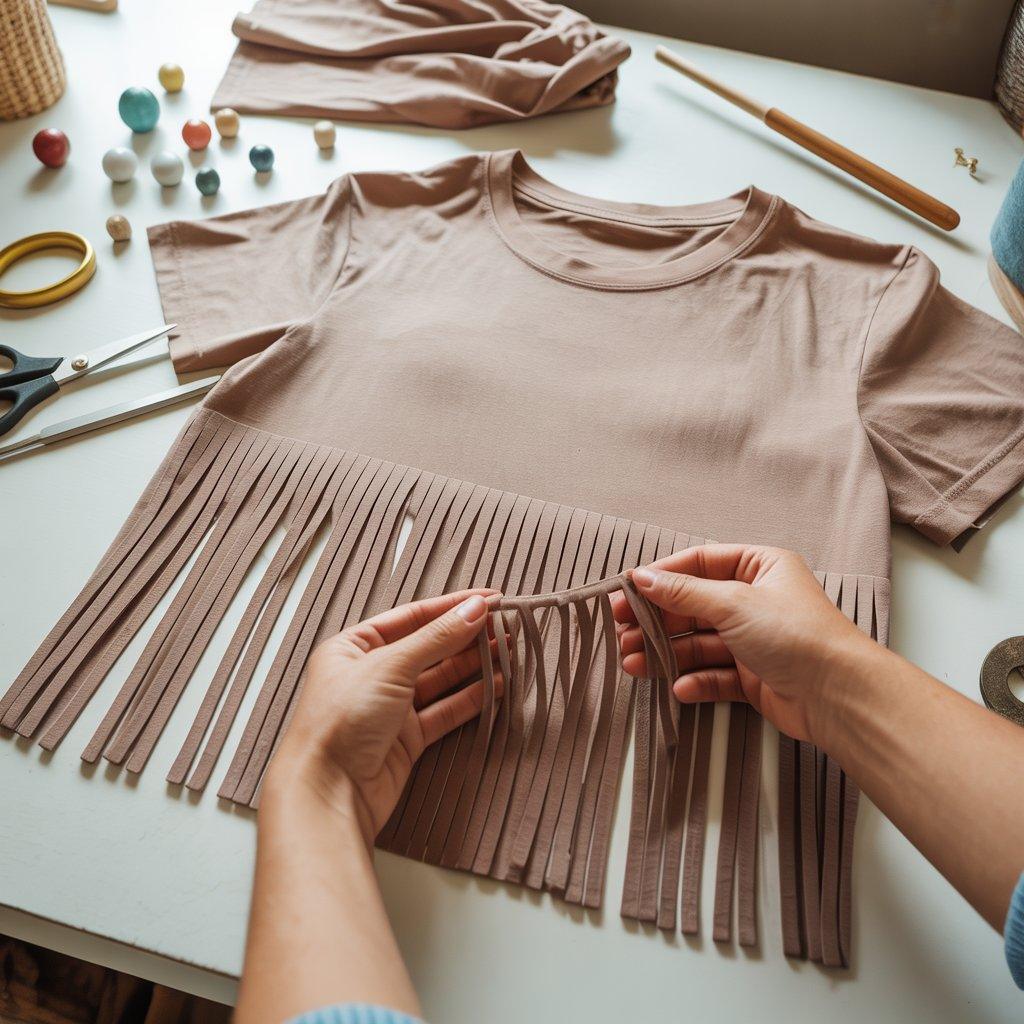
9. Create a Fringe T-Shirt
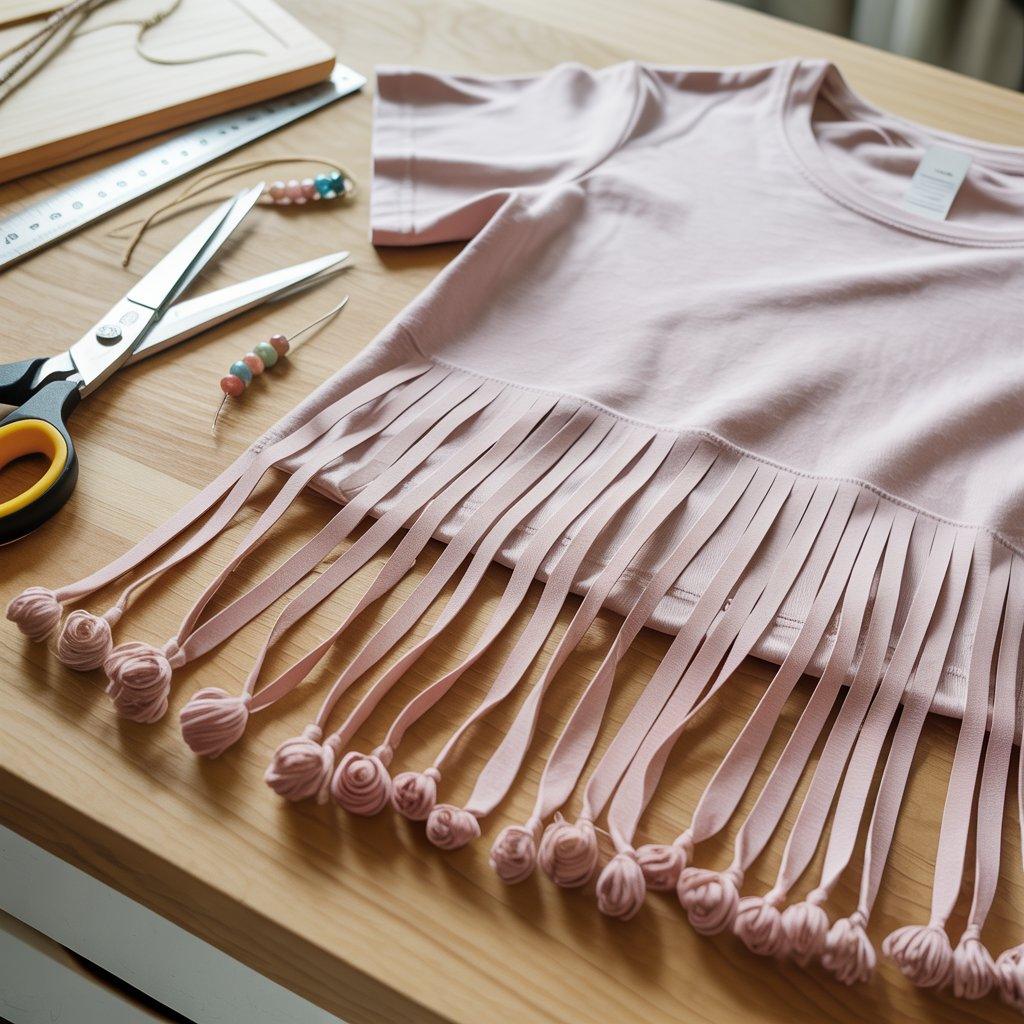
A fringe shirt adds instant boho vibes to your wardrobe. Lay your t-shirt flat on a table. Cut off the bottom hem. Then make vertical cuts about one inch apart from the bottom edge up toward the chest.
Stop about four inches from the collar. Once all the cuts are made, gently stretch each strip. The fabric will curl into soft, noodle-like fringe. For extra style, tie small knots at the ends of each fringe strip.
You can also thread beads onto the strips before knotting them. This works best with 100% cotton t-shirts because the fringe curls nicely. Polyester blends tend to stay straighter.
10. Make a T-Shirt Necklace

Yes, you can turn an old t-shirt into jewelry. Lay the shirt flat and cut off the bottom hem. Then cut one-inch-wide strips from the bottom all the way up to the armpits. You’ll end up with loops of fabric.
Stretch each loop gently so the fabric curls. Now you have strands you can braid, knot, or layer. Experiment with different arrangements. You can make a simple single-strand necklace, a chunky multi-strand piece, or a knotted statement necklace.
The bigger the shirt, the longer your necklace can be. This is a great project to do with friends everyone can make one with their own color scheme.

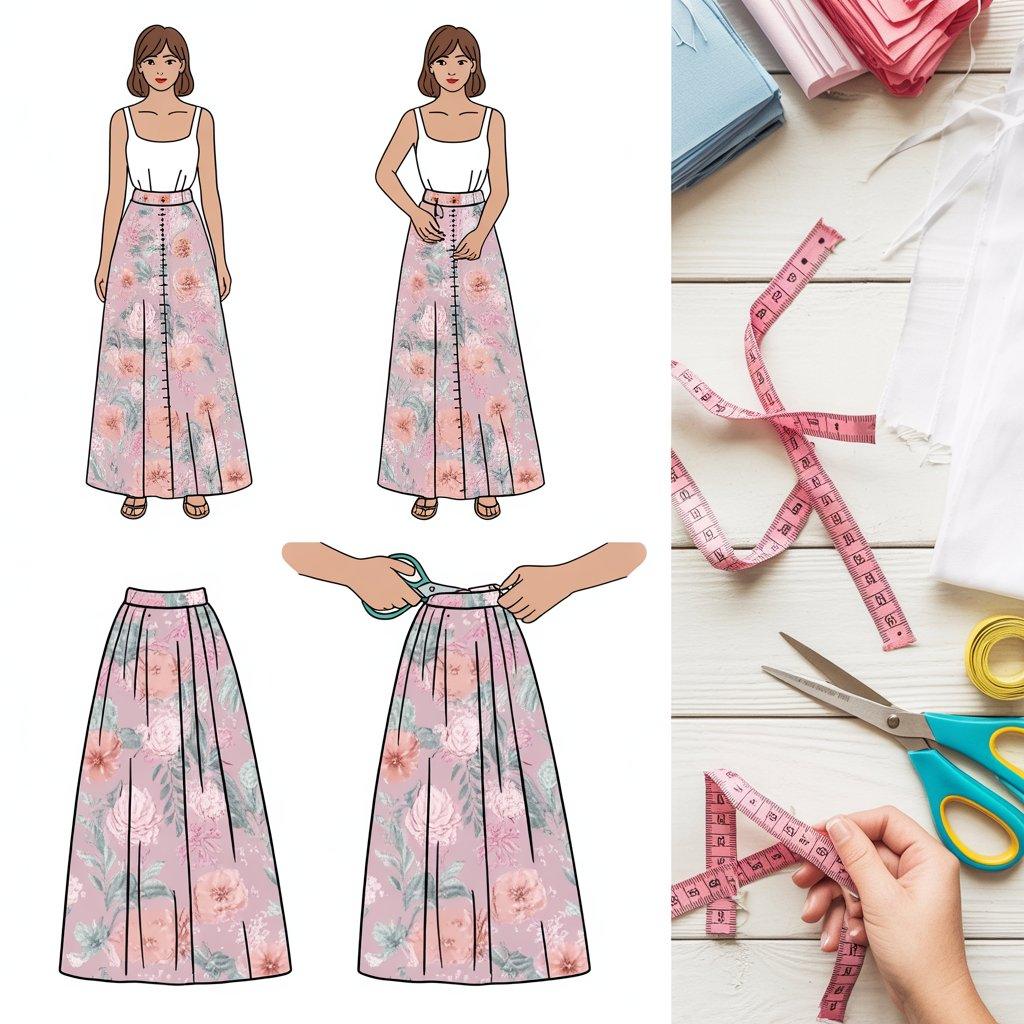
11. Turn a Maxi Dress Into a Skirt
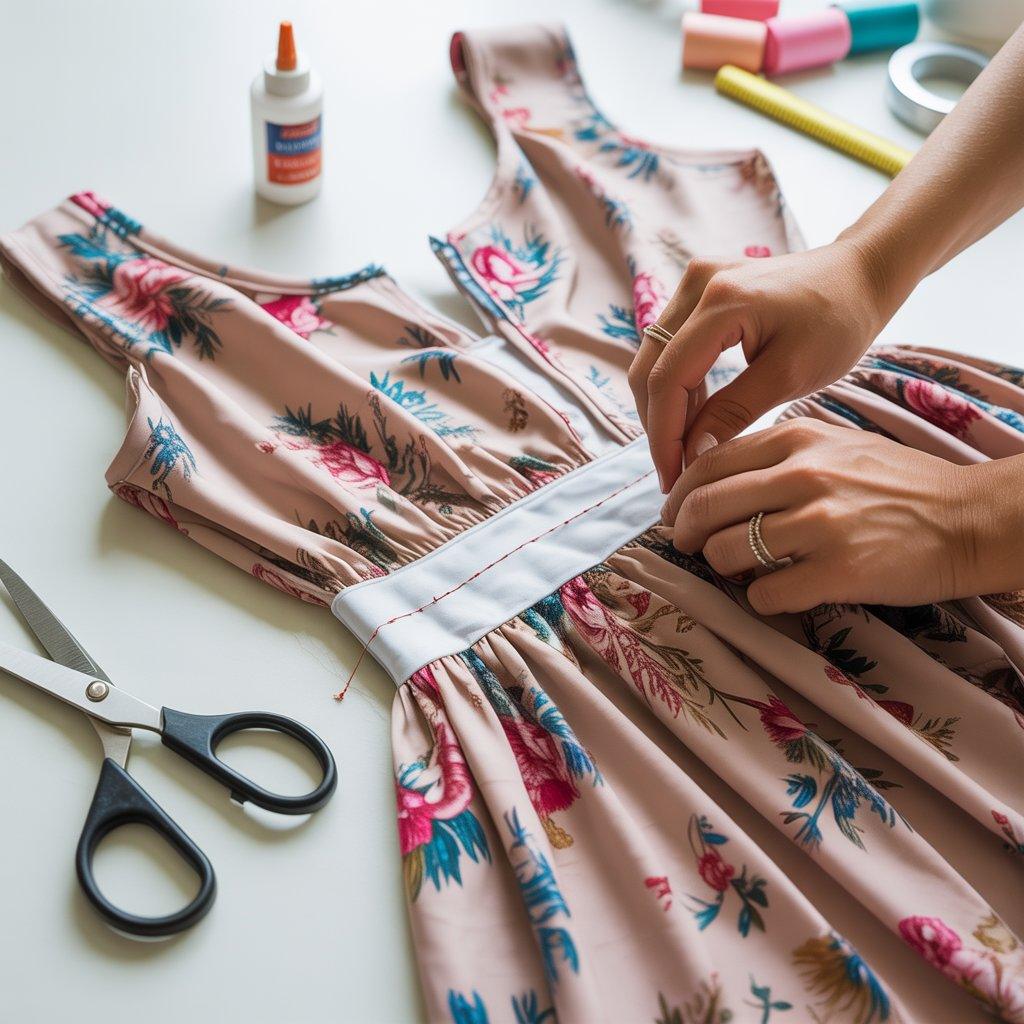
If you have a maxi dress you never wear because the top doesn’t fit right, turn the bottom into a skirt. Put the dress on and decide where you want the waistband to sit. Mark that spot. Take the dress off and cut straight across at that line. You now have a skirt.
The raw edge might curl, but that’s fine for casual wear. For a cleaner finish, fold the top edge down about an inch and glue it in place.
Add a drawstring by cutting two small slits in the front and threading a ribbon or fabric strip through. You can also add elastic by gluing the edges of a small channel and threading elastic through.
12. Create a No-Sew Fleece Blanket
Technically this isn’t clothing, but it’s one of the most popular no-sew projects and once you learn the technique, you can apply it to other things. Take two pieces of fleece fabric the same size.
Lay one on top of the other. Cut a four-inch square out of each corner. Then cut four-inch-deep strips every one inch along all four edges. Pair the top and bottom strips and tie them together in double knots.
Work your way around the whole blanket. That’s it. You now have a warm, cozy blanket. Use this same knotting technique to make pillows, pet beds, or even a simple shrug by cutting armholes in a small piece of fleece.
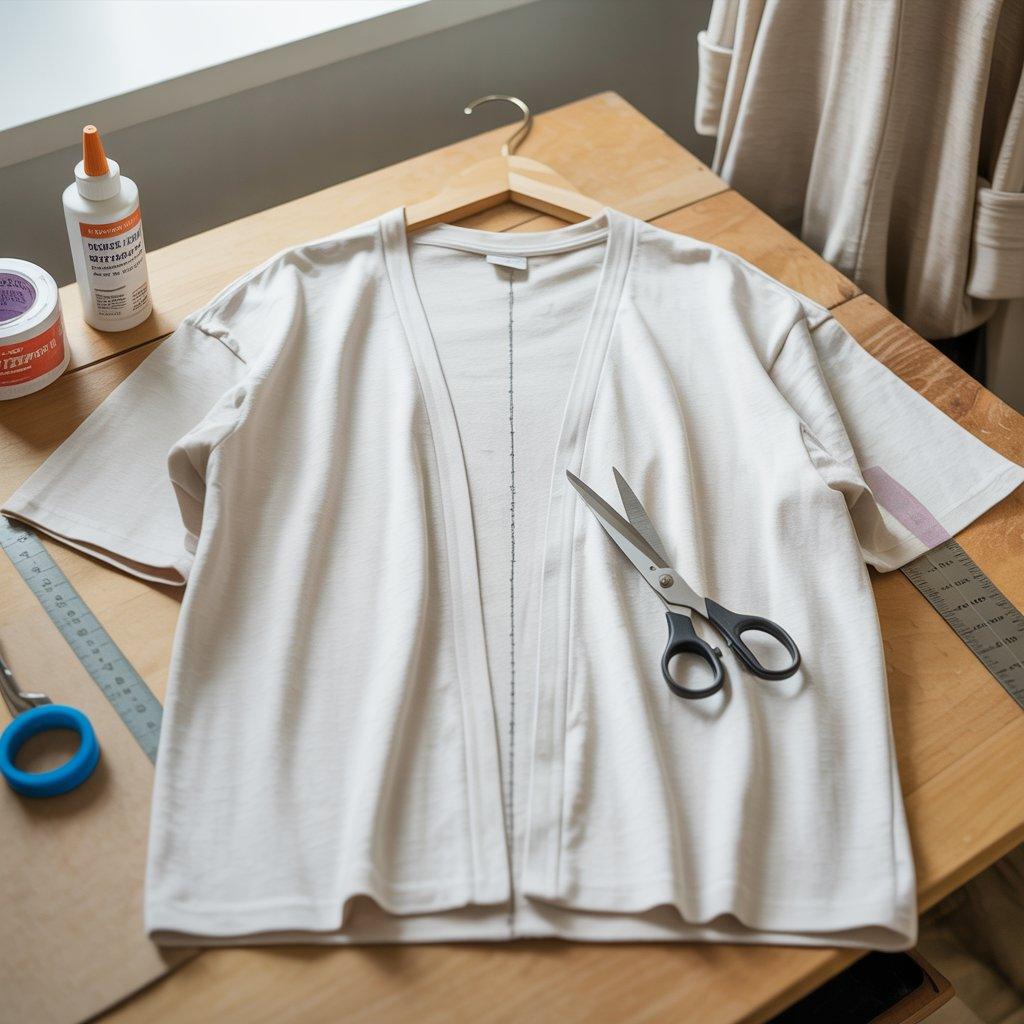
13. Make a No-Sew Cardigan From a T-Shirt
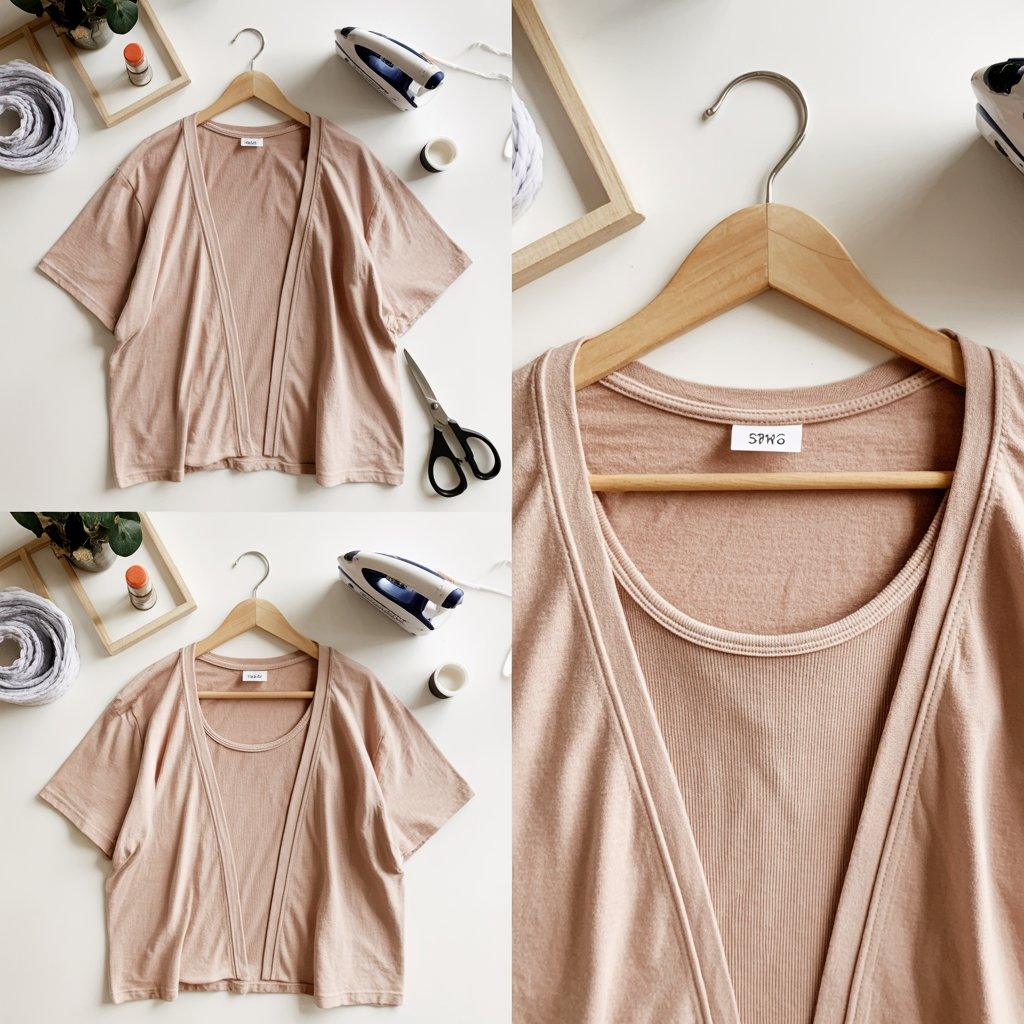
An oversized t-shirt can become a light cardigan perfect for summer evenings. Lay the shirt flat. Cut straight down the middle of the front from the neckline to the bottom hem. You now have an open-front cardigan.
To keep the edges from curling too much, run a line of fabric glue along the cut edges and let it dry. For a more finished look, use hem tape a double-sided adhesive strip you activate with an iron.
Fold the raw edge under about half an inch, place the hem tape inside, and iron it flat. Wear it open over a tank top or tie it at the waist with a fabric belt. This is one of the most versatile projects on this list.
Products I Recommende
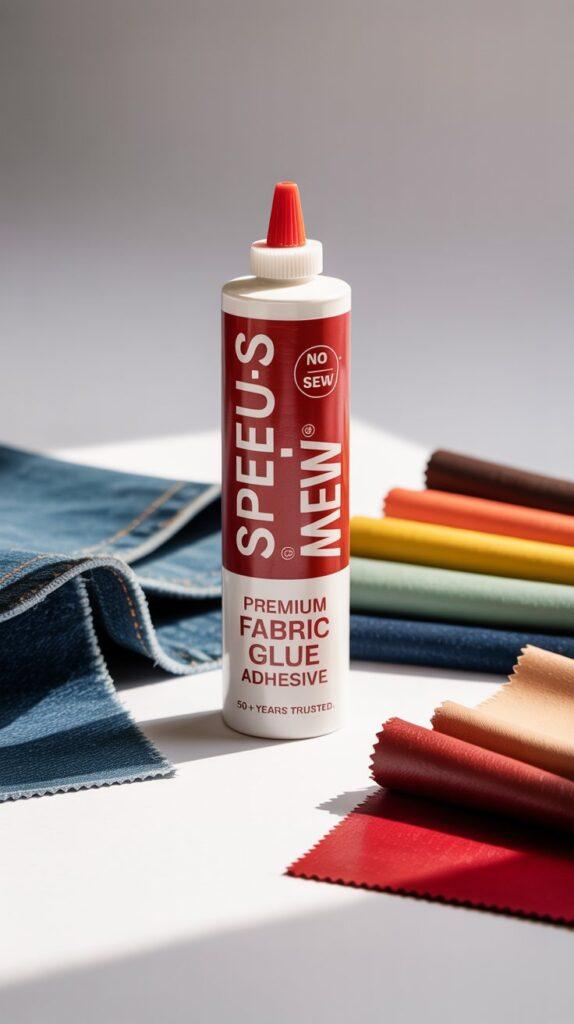
1. Fabric Glue: Speed-Sew No Sew Premium Fabric Glue Adhesive

This is the fabric glue I personally reach for when I don’t want to mess with needles or thread. Speed-Sew has been around for more than 50 years, so it’s not some fly-by-night product.
It’s a fast-drying adhesive that works on denim, upholstery, leather, and pretty much any porous material you’d use in a no-sew project. The bond is permanent and waterproof, which matters when you’re making something you plan to wear and wash.
One tube goes a long way, and the formula dries clear so you won’t see messy white residue on your finished piece. What I like most is that it’s forgiving you have a few seconds to adjust before it sets. That’s huge when you’re a beginner.
It’s also non-toxic and safe to use indoors. Whether you’re hemming pants, attaching patches, or making the t-shirt tote bag from the list above, this glue gets the job done without drama.
👉 Check price on Amazon.com Speed-Sew No Sew Premium Fabric Glue Adhesive
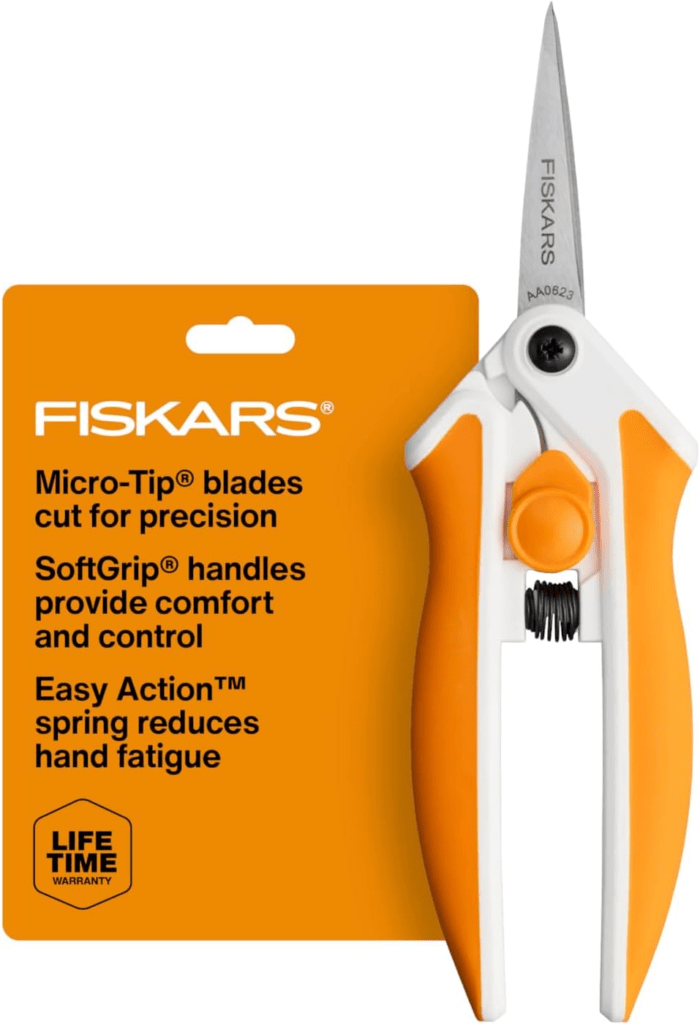
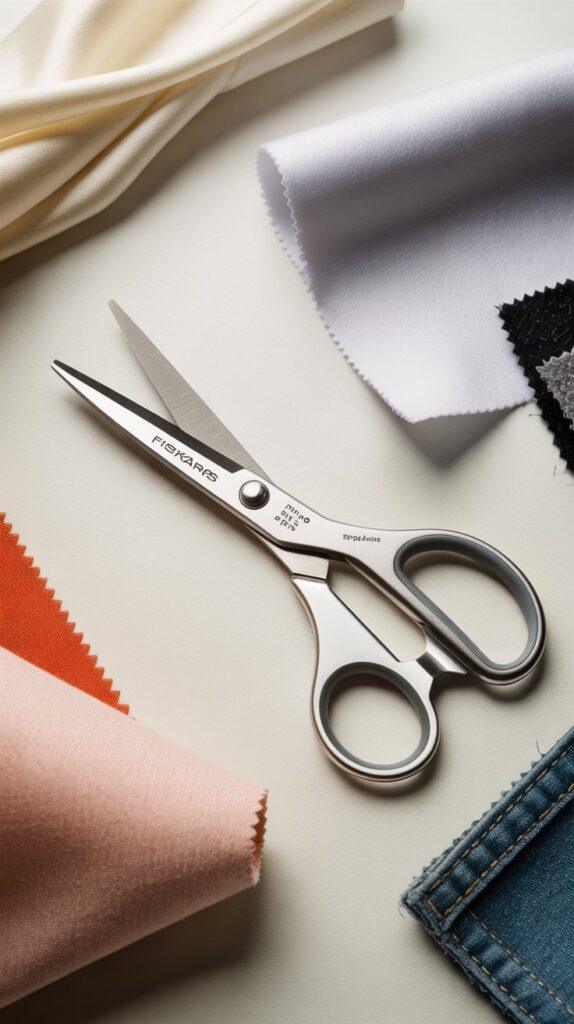
2. Fabric Scissors: Fiskars Micro-Tip Spring Assisted Scissors
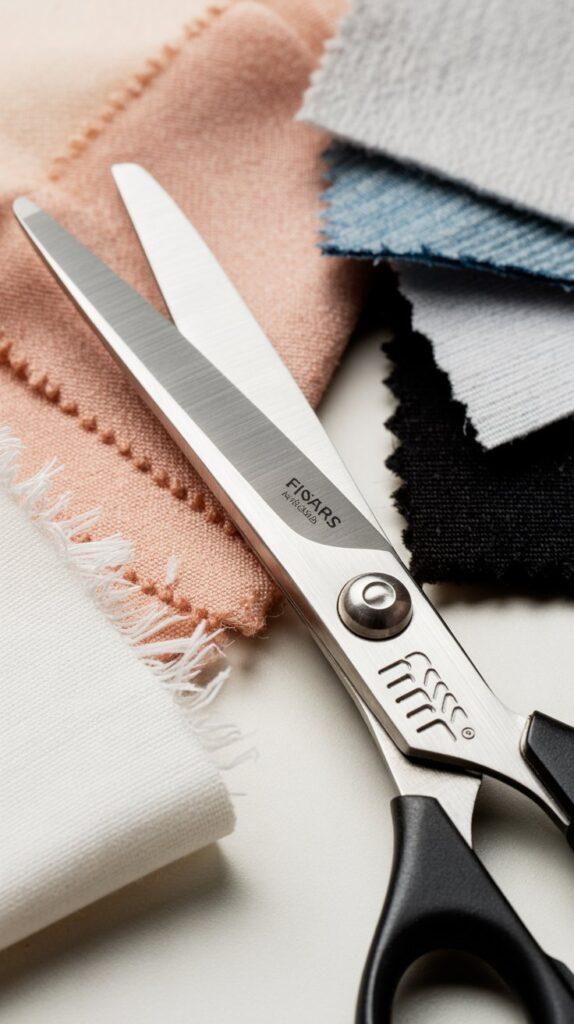
Dull scissors are the enemy of clean no-sew projects. Fiskars is a trusted brand that professionals actually use, and these Micro-Tip scissors are perfect for fabric work.
The blades are stainless steel and stay sharp for a long time. What makes them special is the spring-assisted design the scissors open automatically after each cut, which reduces hand fatigue when you’re cutting fringe or multiple strips.
The micro-tips let you get into tight spots and cut precise curves, which is handy for projects like the t-shirt necklace or the crop top. They work on silk, cotton, polyester, felt, and even denim. The ergonomic handle fits comfortably in your hand, and they’re lightweight enough to use for extended periods.
If you only buy one tool for no-sew DIY, make it a good pair of scissors. These are worth the investment because they’ll last for years.
👉 Check price on Amazon.com : Fiskars Micro-Tip Spring Assisted Scissors
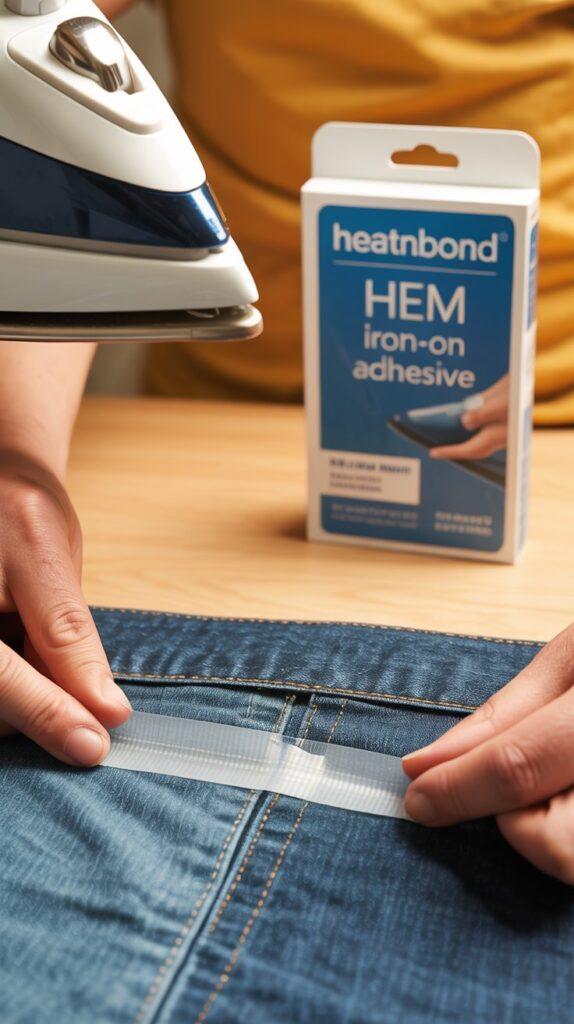
3. Hem Tape: HeatnBond Hem Iron-On Adhesive
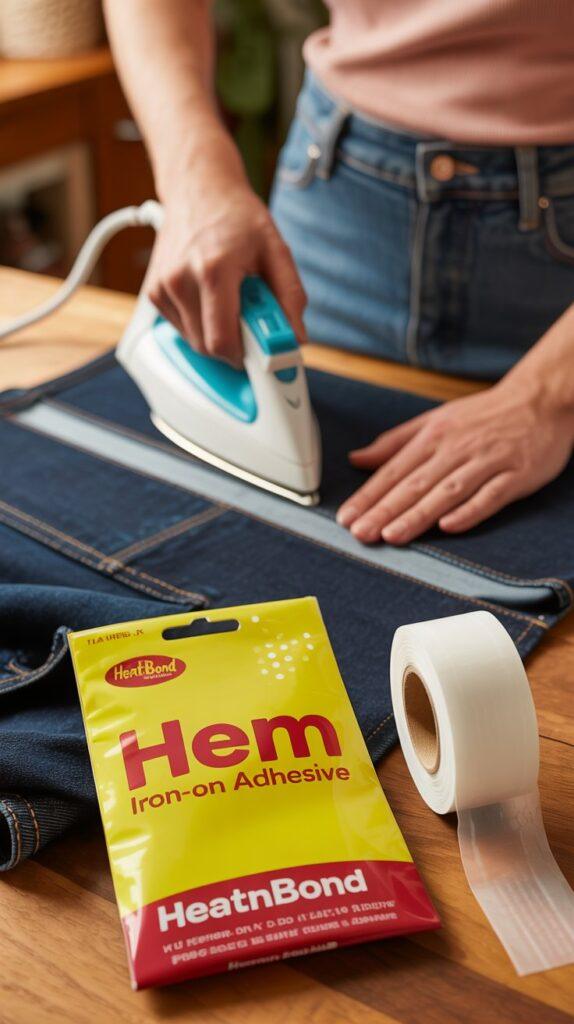
HeatnBond is the gold standard for no-sew hemming, and there’s a reason it keeps showing up in craft rooms. This is an iron-on adhesive tape that bonds two layers of fabric together without any sewing.
You just cut a piece, place it between the fabric layers, and press with an iron for about 10 seconds. The bond is strong like “holds up in the washing machine” strong. It works on pants, skirts, curtains, and even heavier fabrics like denim.
I’ve used it to hem jeans and to attach patches, and it hasn’t let go yet. The tape comes in different widths, so you can choose what fits your project. For beginners, this is a lifesaver because it turns a scary sewing task into a simple ironing job. Keep a roll in your DIY kit, and you’ll find yourself using it all the time.
👉 Check price on Amazon.com HeatnBond Hem Iron-On Adhesive
Helpful Sections
Tips for Success
- Use sharp scissors. Dull scissors crush the fabric instead of cutting cleanly. That makes edges look messy.
- Test glue on a scrap piece first. Some fabric glues bleed through thin materials. You don’t want a hard stain on your finished piece.
- Wash and dry your clothes before cutting. Fabric shrinks differently after washing. Cut first, then wash, and your project might change size.
- Work on a flat, hard surface. A table works better than a bed or carpet. You need steady lines.
- Keep a ruler or measuring tape handy. Guessing measurements leads to uneven cuts. Even a simple ruler helps a lot.
Mistakes to Avoid
- Cutting too much too fast. You can always cut more off later. You can’t glue fabric back on.
- Skipping the knot test on bags. For the tote bag, tug each knot firmly before filling it with heavy items. Loose knots unravel.
- Using hot glue on stretchy fabric. Hot glue dries hard and cracks when the fabric moves. Stick with fabric glue or hem tape.
- Forgetting to pre-wash pillowcases. Some pillowcases shrink a surprising amount. Wash and dry them before you cut.
- Cutting fringe lines unevenly. Measure and mark your lines with a pen before cutting. Uneven fringe looks sloppy.
FAQs
Q: Will the cut edges fray?
A: Knit fabrics like t-shirt material curl instead of fray. Woven fabrics like cotton pillowcases may fray a little. You can stop fraying with a thin line of fabric glue along the edge.
Q: What kind of glue works best?
A: Look for “fabric glue” or “textile adhesive.” Brands like Aleene’s or Beacon work well. Avoid standard school glue it washes out.
Q: Can I wash these projects?
A: Most can be washed on gentle cycle and air dried. Glued seams may weaken over time. Hand washing is safer.
Q: I messed up a cut. Can I fix it?
A: Yes. Trim the mistake into a new shape. A crooked crop top can become a fringed top. A too-short bag can become a pencil case.
Q: Are these projects good for kids?
A: Yes, with supervision. Cutting and gluing are safe for ages eight and up. Skip the sharp scissors for younger kids.
Styling Ideas
- Pair a fringed t-shirt with high waisted jeans and sandals for a casual summer look.
- Wear the no-sew cardigan over a solid colored dress to add a layer without bulk.
- Stack two or three t-shirt necklaces in different colors for a statement piece.
- Use the pillowcase skirt as a swimsuit cover-up at the beach or pool.
- Layer the tube top over a white button-up for a 90s-inspired outfit.
- Tie the fabric belt around a loose sundress to give it shape.
- Wear the infinity scarf with a denim jacket on cooler mornings.
Conclusion
No-sew DIY clothing ideas are perfect for beginners because they’re forgiving, fast, and cheap. You don’t need special skills or expensive tools. Just a pair of scissors, some glue, and clothes you already own.
Start with one project maybe the t-shirt tote bag or the crop top. See how it feels. If you like it, try another. The more you practice, the better you get at imagining new possibilities for old clothes. And even if a project doesn’t turn out perfectly, you’ve only lost a few minutes and an old shirt. That’s a small price for learning something new.
Realted Post: