
Most of us can’t drop $200 on a plain white t-shirt or $500 on simple black pants. But that doesn’t mean your basic clothes have to look cheap. The good news you don’t need to be a fashion designer or a tailor to upgrade your wardrobe.
A few small changes in how you choose, fix, and style your basics can make a huge difference. This matters because looking put together isn’t about how much you spend. It’s about the details. And those details are things anyone can learn.
Why Basic Clothes Often Look Cheap
Most affordable basics are made from thin fabric, have loose threads, or fit poorly. The seams might be crooked. The buttons look like plastic. The hem is uneven. But here’s the secret: expensive clothes aren’t made from magic.
They just have better construction. So if you improve the construction on your own basics, they will look premium too. You don’t need a sewing machine for everything. Sometimes it’s as simple as ironing a collar or trimming a loose thread.
Main Content: Is the Ways to Design Basic Clothes to Look Premium
1. Fix the Fit First
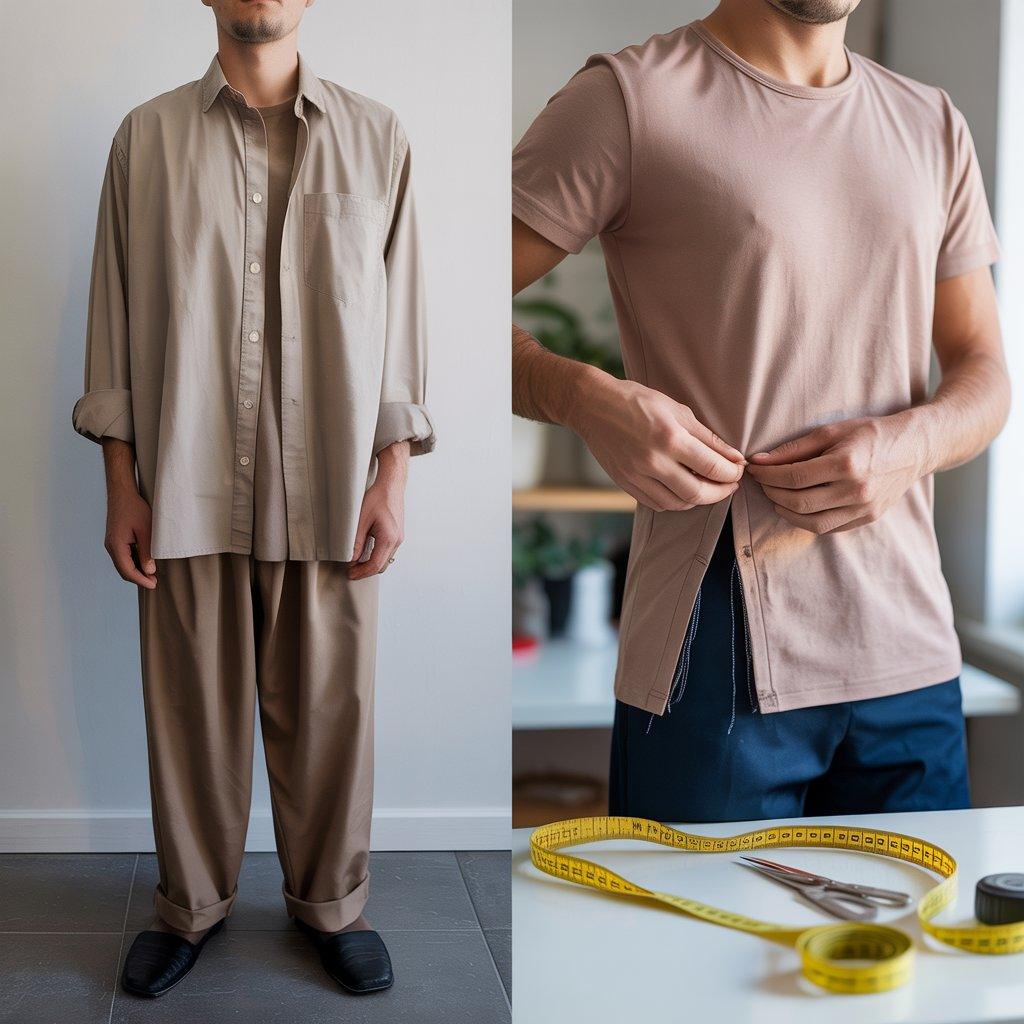
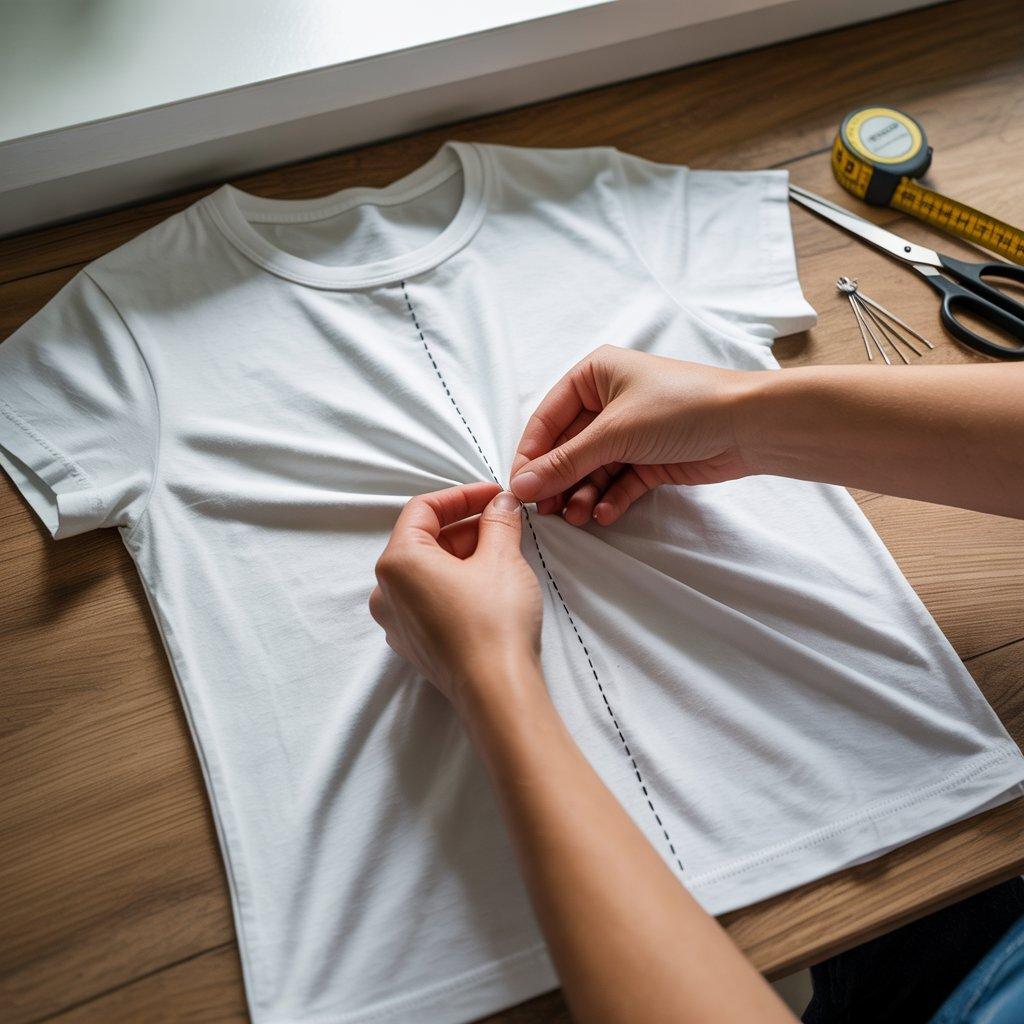
The number one thing that makes cheap clothes look cheap is bad fit. If a shirt is too baggy or pants are too long, it looks sloppy. You can fix this without a tailor for simple things. For example, roll the sleeves of a basic button-up so they hit right below the elbow.
Tuck in a loose t-shirt just slightly at the side seam to create shape. For bigger fixes, learn one simple hand stitch called the “running stitch.” You can take in a shirt’s side seam in about 15 minutes. Start with a cheap shirt you don’t mind practicing on.
Once you see how easy it is, you’ll want to fix everything. A fitted basic always looks more expensive than a loose one, even if the fabric is the same.
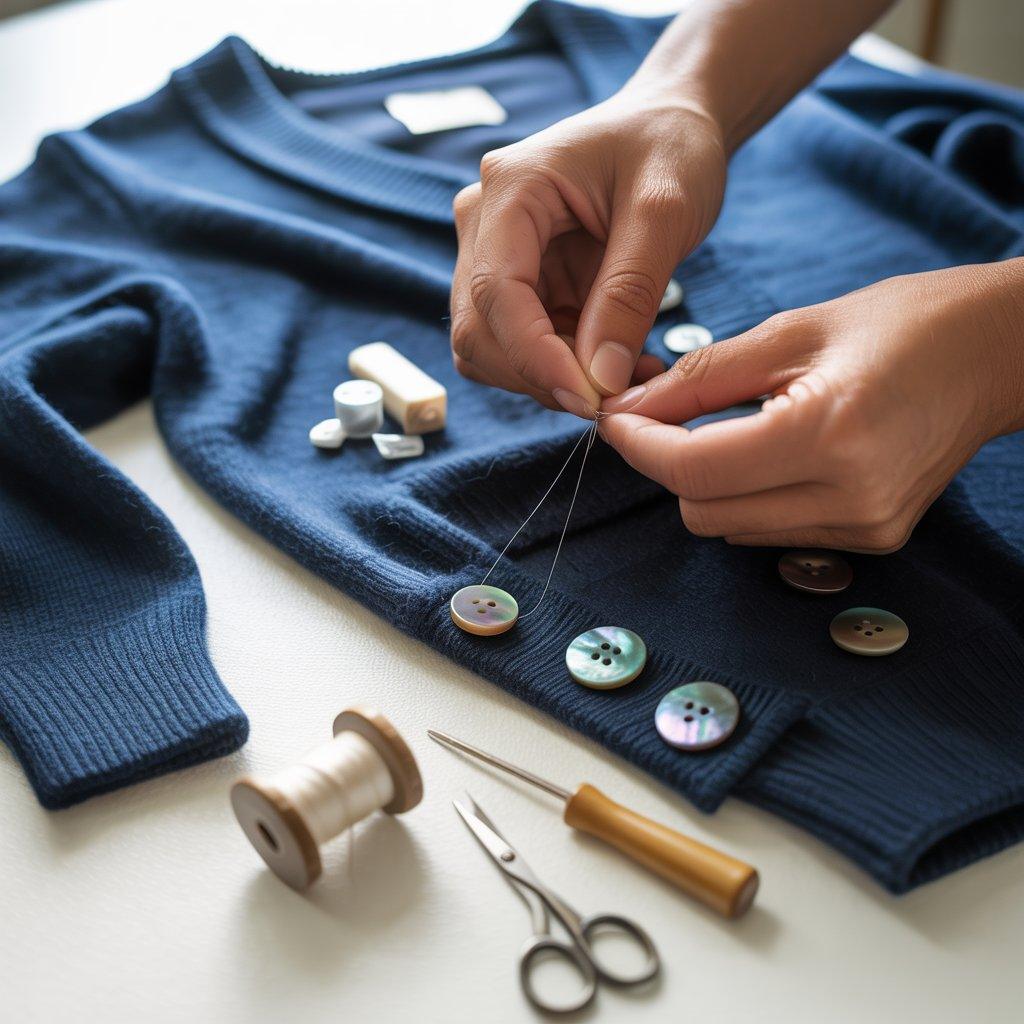
2. Swap Out Cheap Buttons
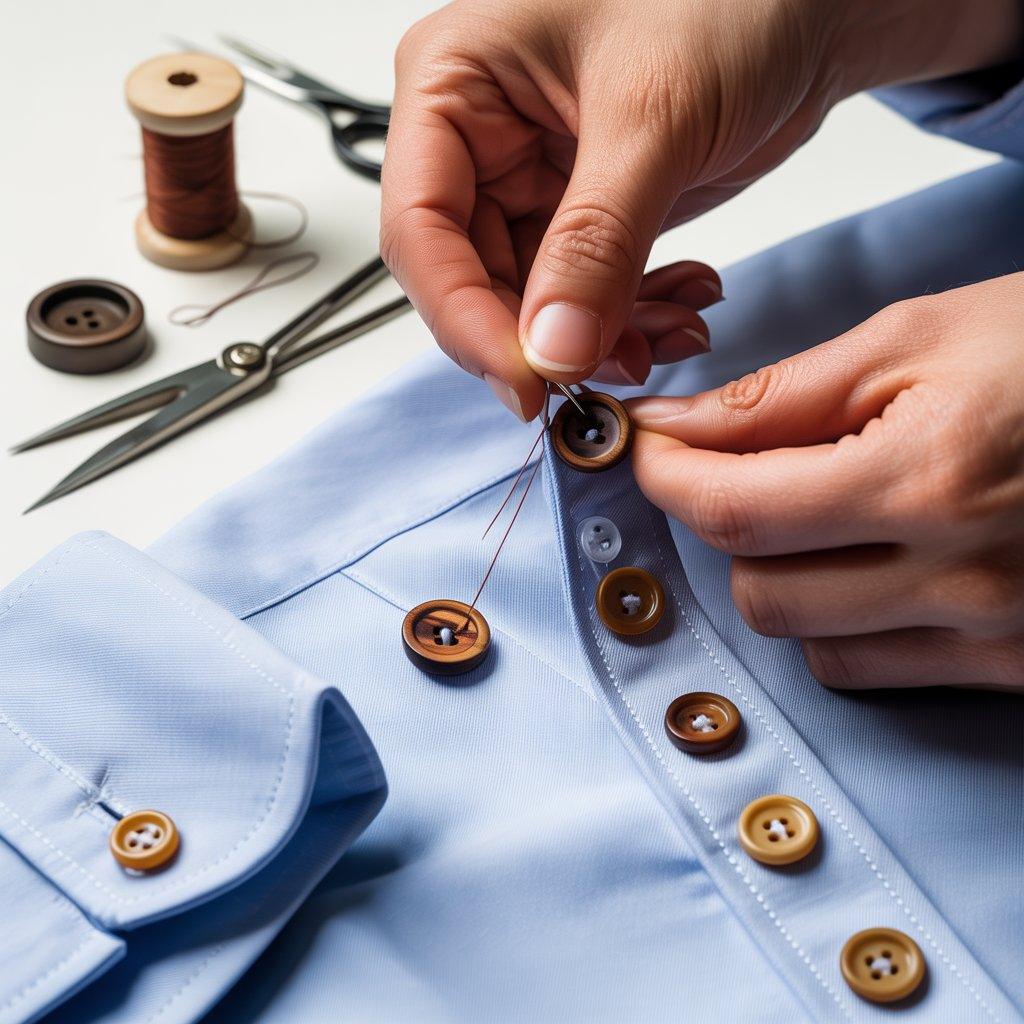
This one small change is a game changer. Most cheap basics come with plastic buttons that look shiny and fake. You can buy wood, metal, or mother-of-pearl buttons online for just a few dollars. Remove the old buttons with scissors or a seam ripper. S
ew on the new ones with a simple cross stitch. It takes maybe 10 minutes per shirt. This product can help you: a basic sewing kit with a seam ripper and thread is all you need.
After you swap the buttons, stand back and look. Suddenly that cheap cardigan or oxford shirt looks like it cost three times as much. People notice buttons more than you think. It’s a tiny detail that screams “quality.”
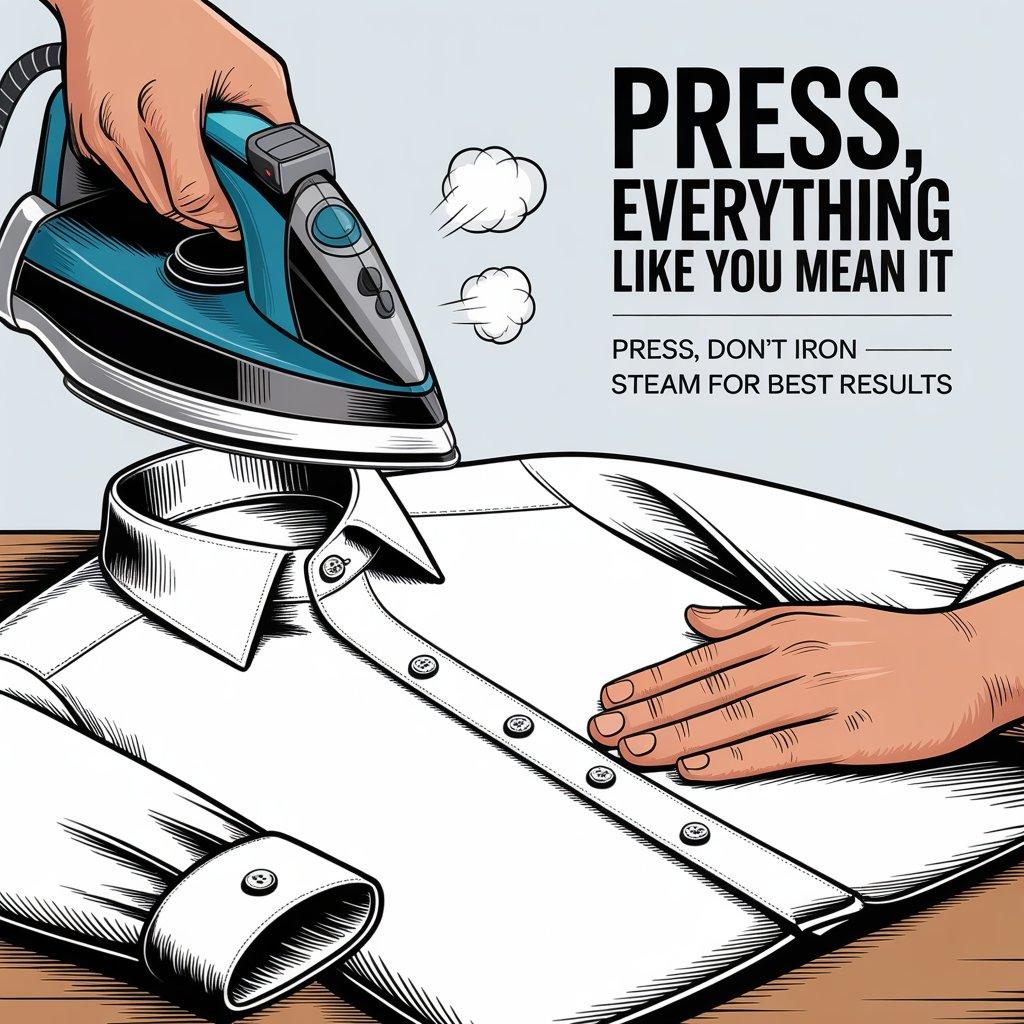
3. Press Everything Like You Mean It
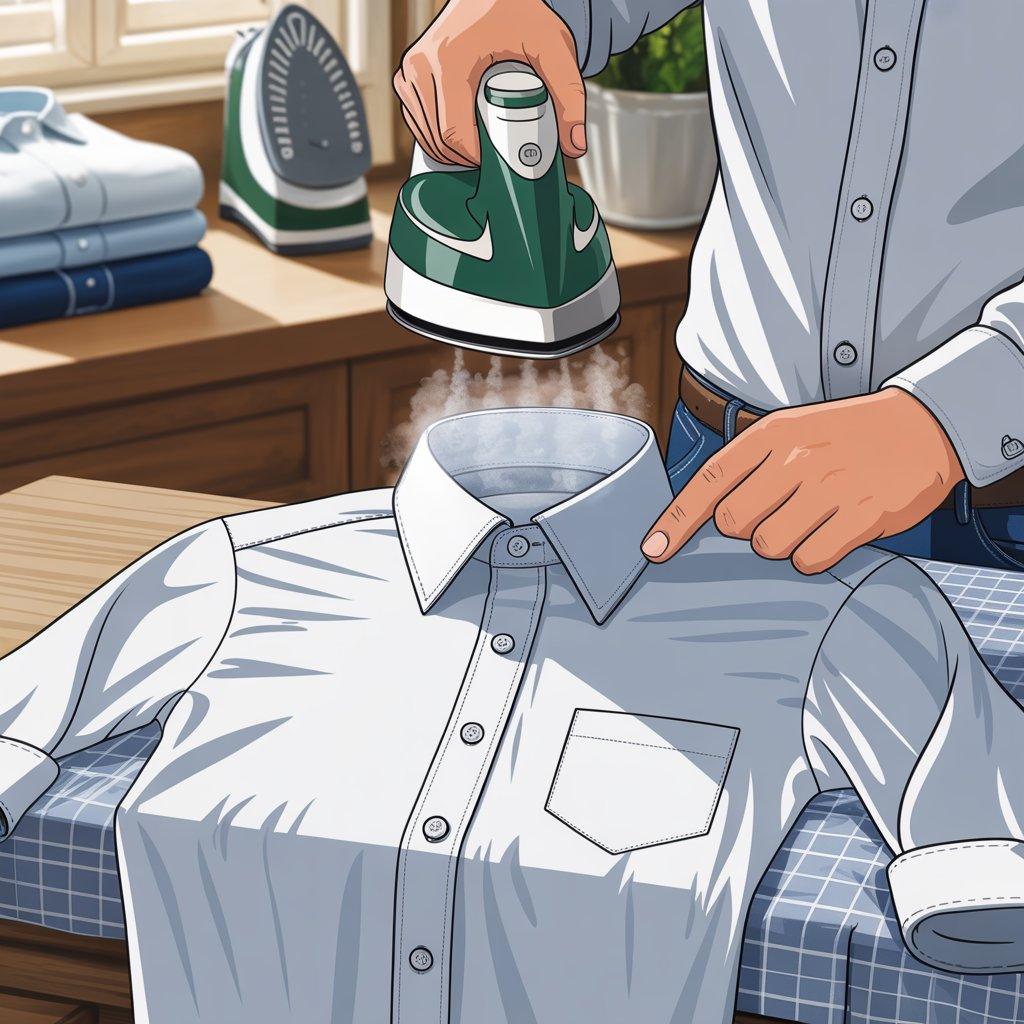
Wrinkles are the fastest way to make any outfit look sad. But here’s the trick: pressing isn’t the same as ironing. Ironing moves the iron back and forth, which can stretch fabric. Pressing means you put the iron down, lift it, and move to the next spot. Use steam.
Press collars, hems, and seams flat. Pay special attention to the placket (the strip where buttons go) on a shirt. When that lies flat, the whole shirt looks sharper.
Also, press your clothes while they are slightly damp for better results. A decent steam iron costs about $20. That’s one of the best investments you can make for your wardrobe.
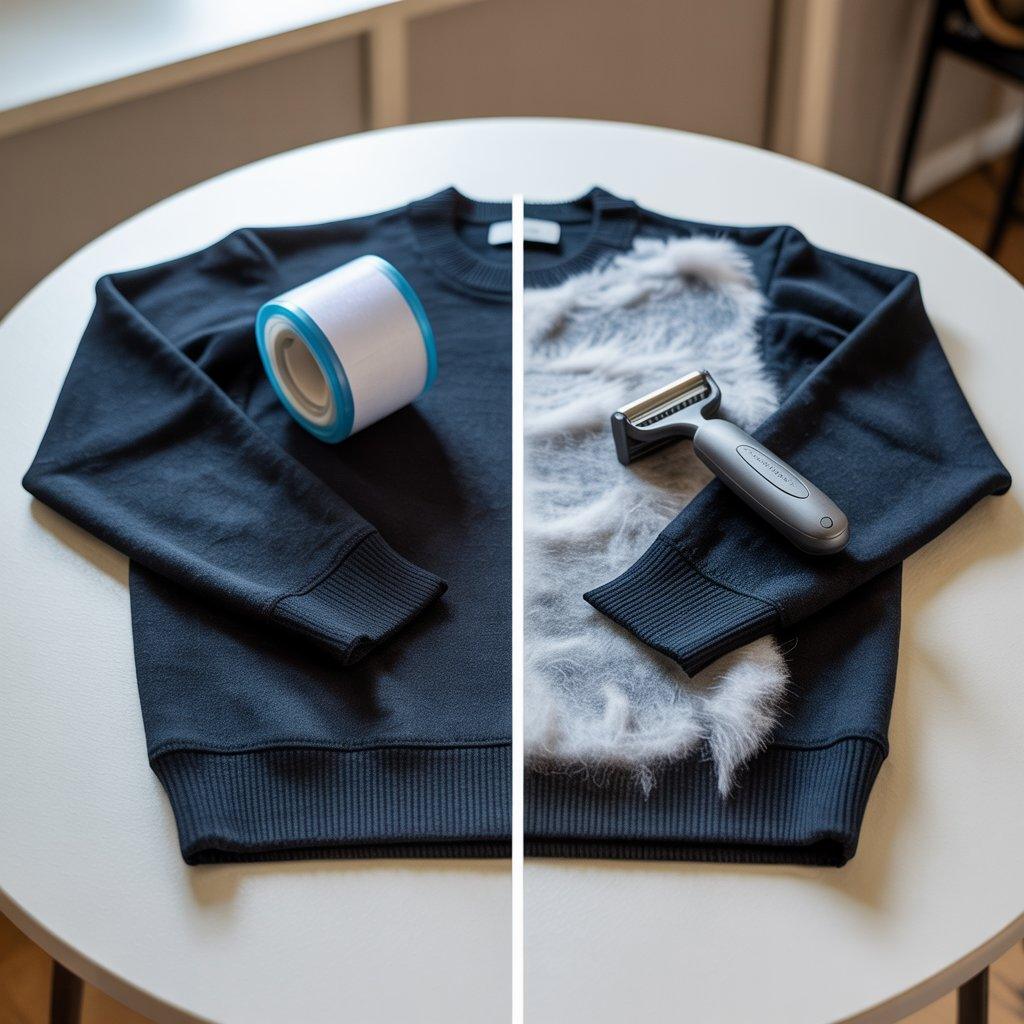
4. Remove Pills and Lint
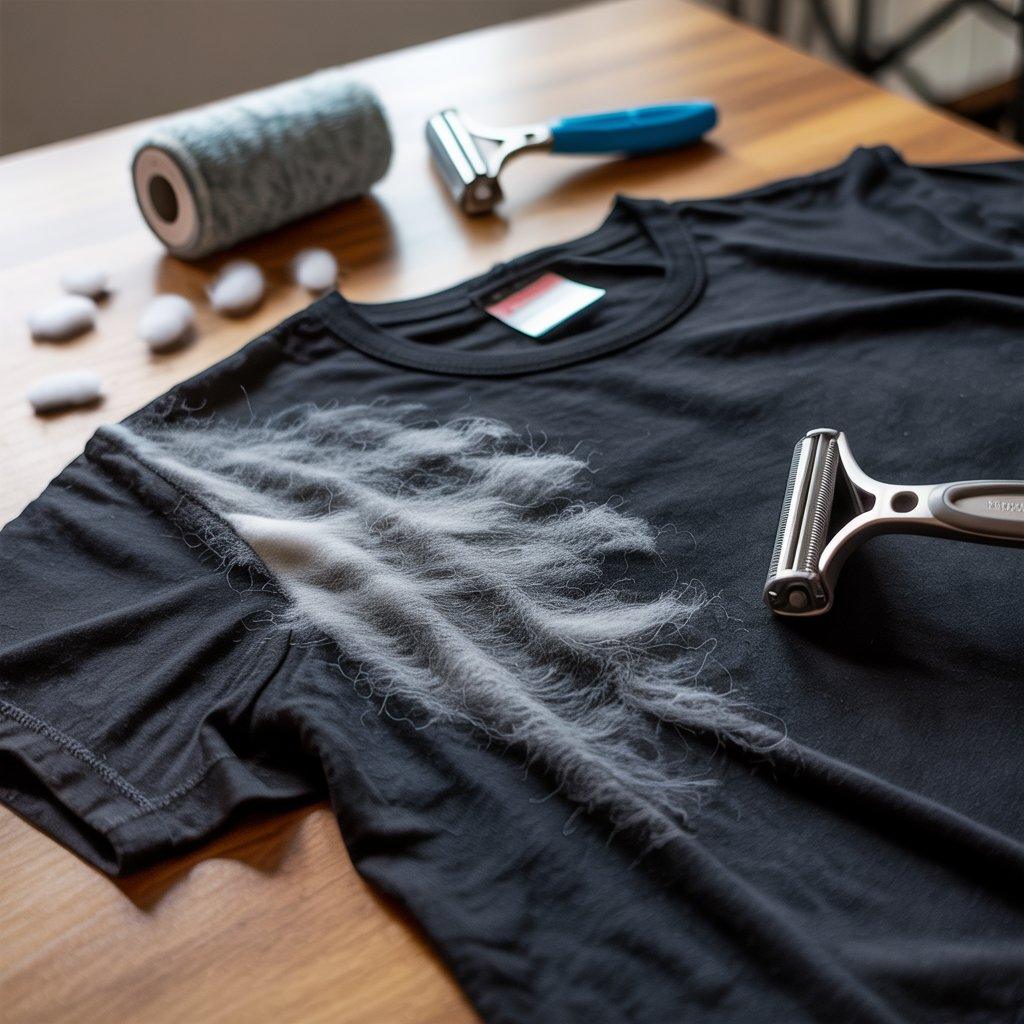
Pills are those little fuzzy balls that form on cheap cotton or polyester blends. They make a black shirt look gray and old. You can remove them easily with a fabric shaver or a cheap disposable razor. Lay the shirt flat on a table.
Gently run the razor over the fabric in one direction. The pills will come right off. Do this once every few washes. Also, keep a lint roller near your closet. Use it every time you put on dark basics.
Lint and pet hair are invisible to you but very visible to everyone else. A clean, smooth surface looks premium. A fuzzy, linty surface looks like you slept in it.
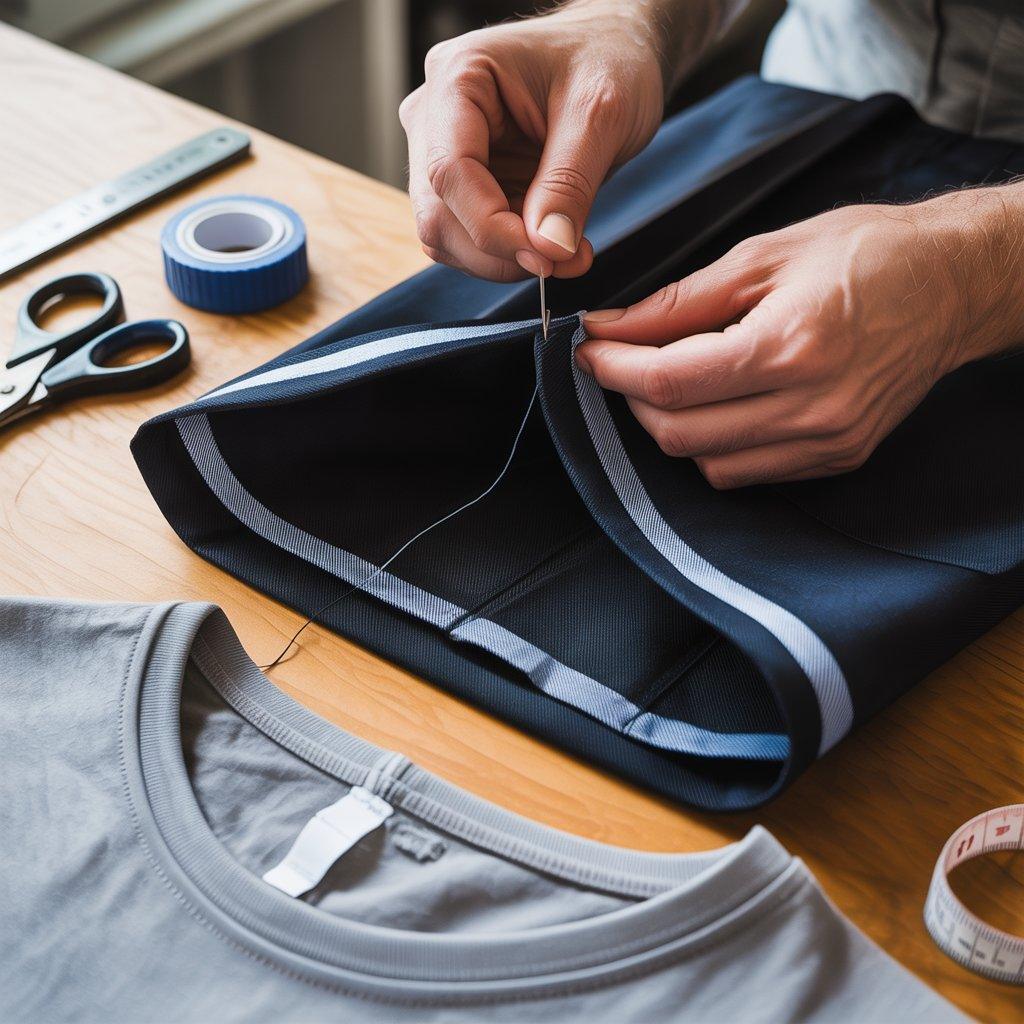
5. Upgrade the Hem Yourself
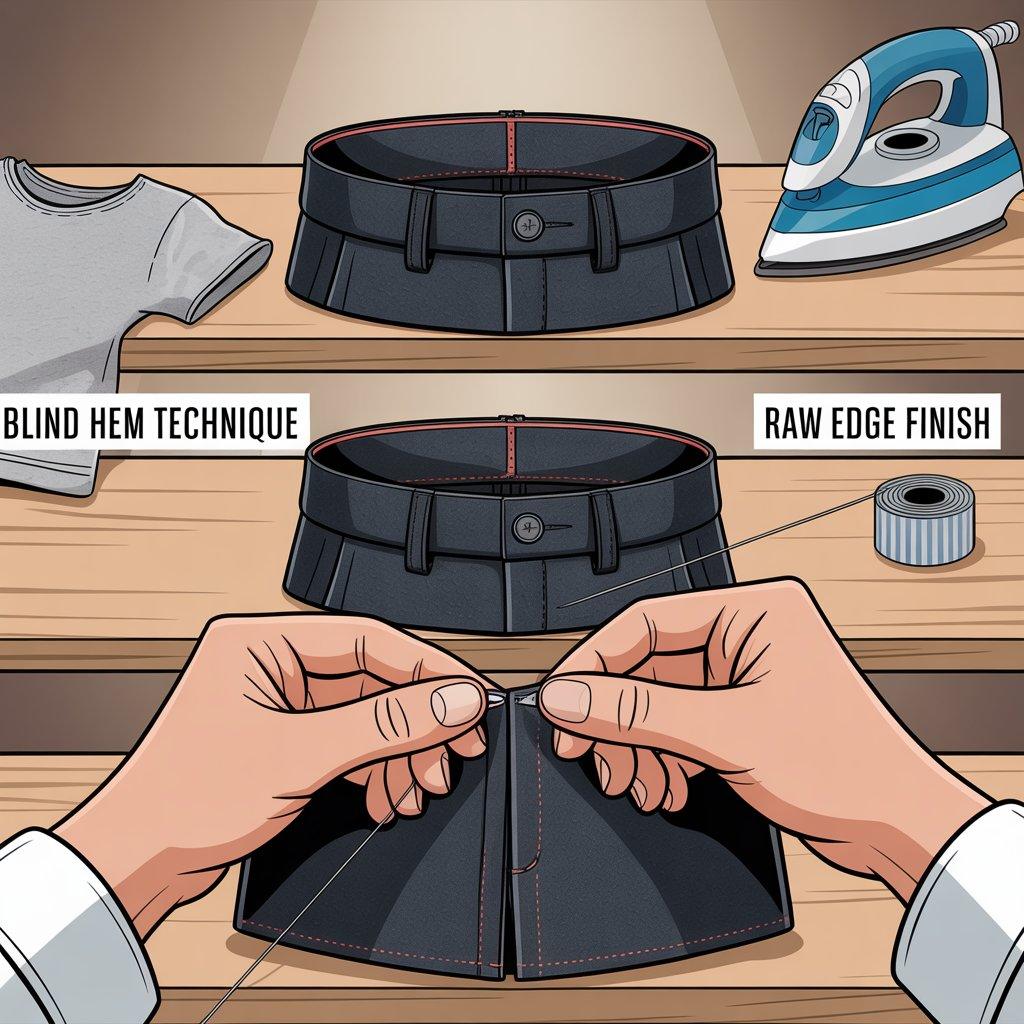
Many basic pants and sleeves come with a plain, thick hem that looks factory-made. You can create a “blind hem” that is almost invisible. Watch a two-minute video on YouTube for the stitch. It’s easier than it sounds. For t-shirts, try cutting off the bottom hem completely and leaving a raw edge.
Then wash the shirt once. The raw edge will curl slightly, which looks intentional and modern. This works best on thicker cotton t-shirts.
For dress pants, fold up the hem and use iron-on hem tape. No sewing required. A cleaner hem makes the whole garment hang better. And better hang means better silhouette. That’s what expensive clothes do.
6. Choose Solid Colors Over Prints
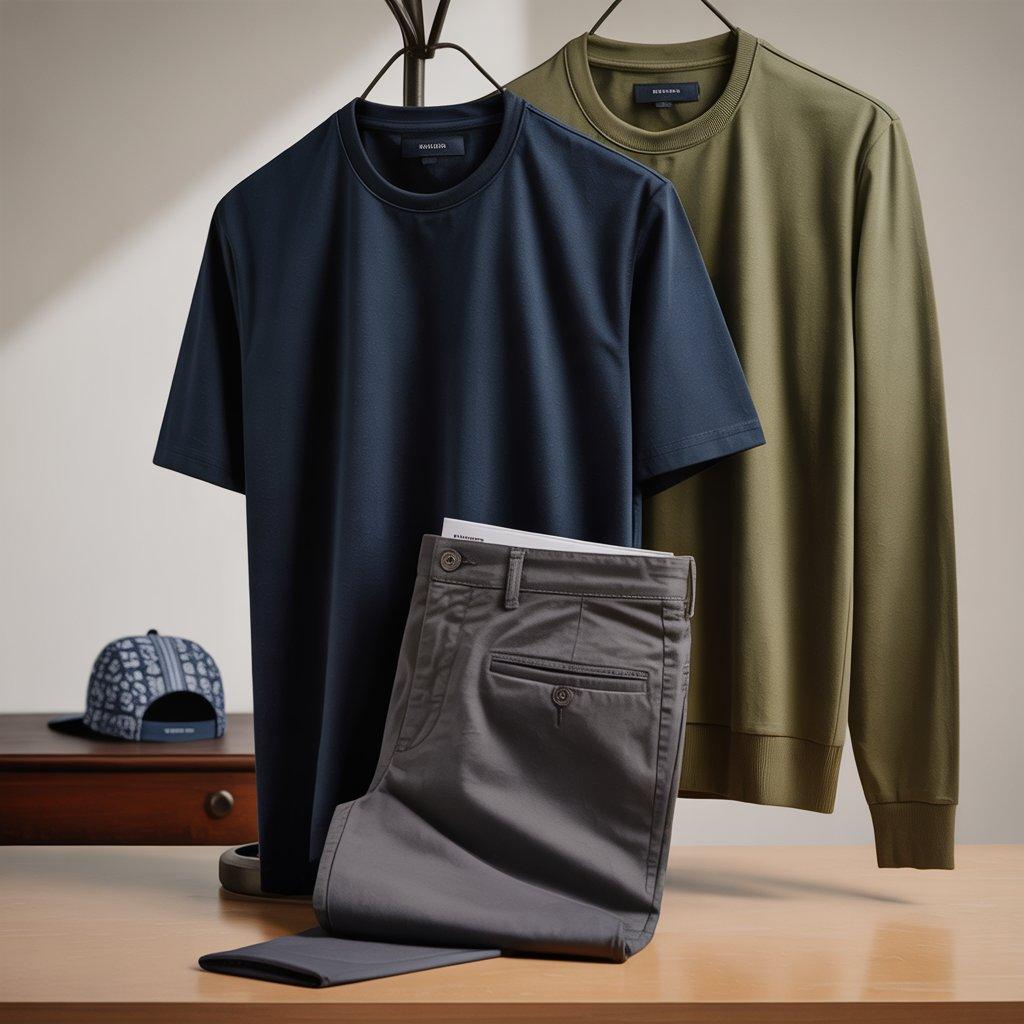
Here’s a hard truth: cheap prints look cheap. The pattern might be blurry, off-center, or just ugly. If you want to look premium with basics, stick to solid colors. Navy, charcoal, olive, white, and cream are your friends. These colors hide small imperfections in fabric and stitching. They also match everything.
A plain navy t-shirt with well-pressed chinos looks like you know what you’re doing. A loud, faded print looks like a vacation souvenir. Save prints for one small accessory, like a bandana or a hat. Let your basic clothes do the quiet work of looking expensive.

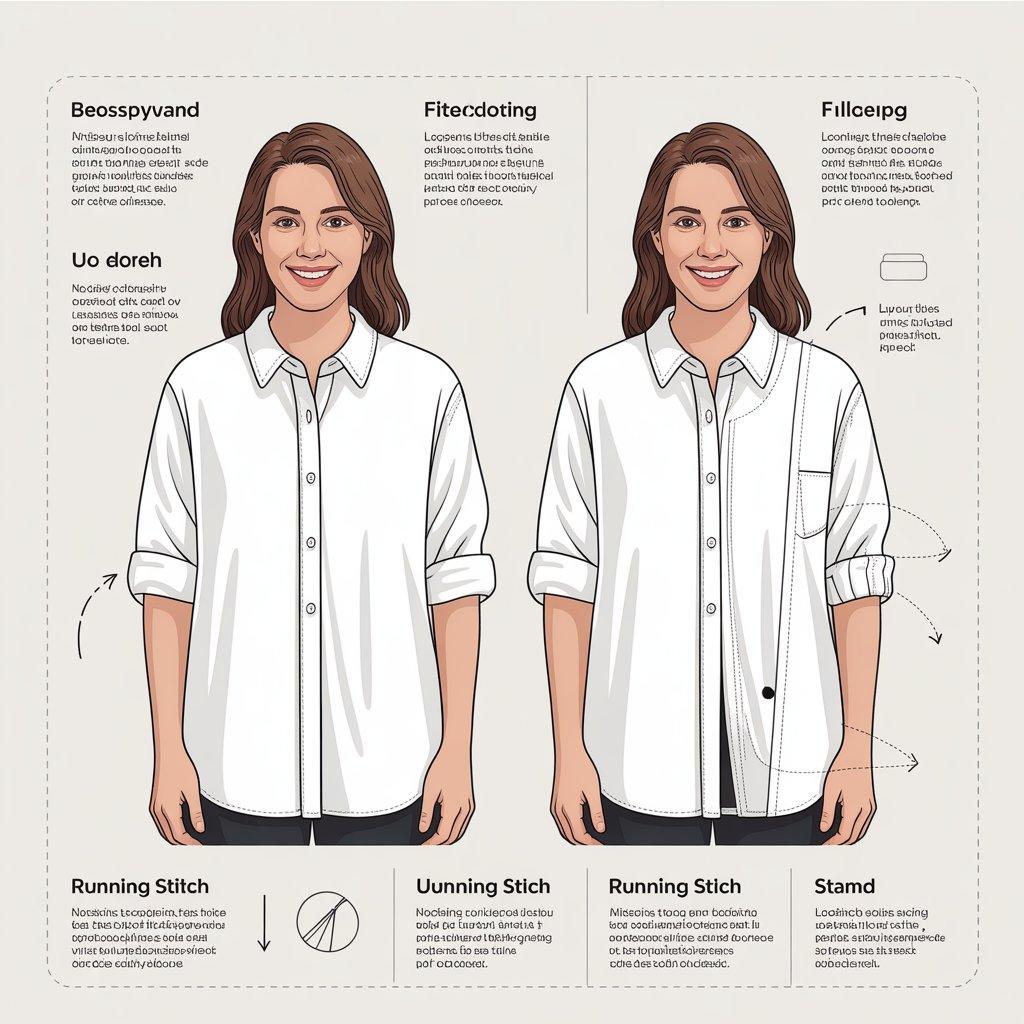
7. Add Darts to Plain Tops
A dart is a small fold sewn into fabric to create shape. Most cheap basic tops are cut straight like a box. That’s fine if you have a straight body type, but for most people, it adds bulk where you don’t want it. Adding two simple darts to the back of a t-shirt or blouse takes maybe 20 minutes by hand.
Pinch the fabric at your lower back until it lies flat. Mark that pinch with chalk. Sew a straight line from the top of the pinch down to the bottom, tapering off. This pulls the shirt in slightly so it follows your natural curves. The result looks custom-made.
Expensive brands do this all the time. You can do it with a needle and thread on your couch. Practice on an old shirt first. Once you learn, you’ll never look at a boxy top the same way again.

8. Replace Cheap Elastic with Better Quality
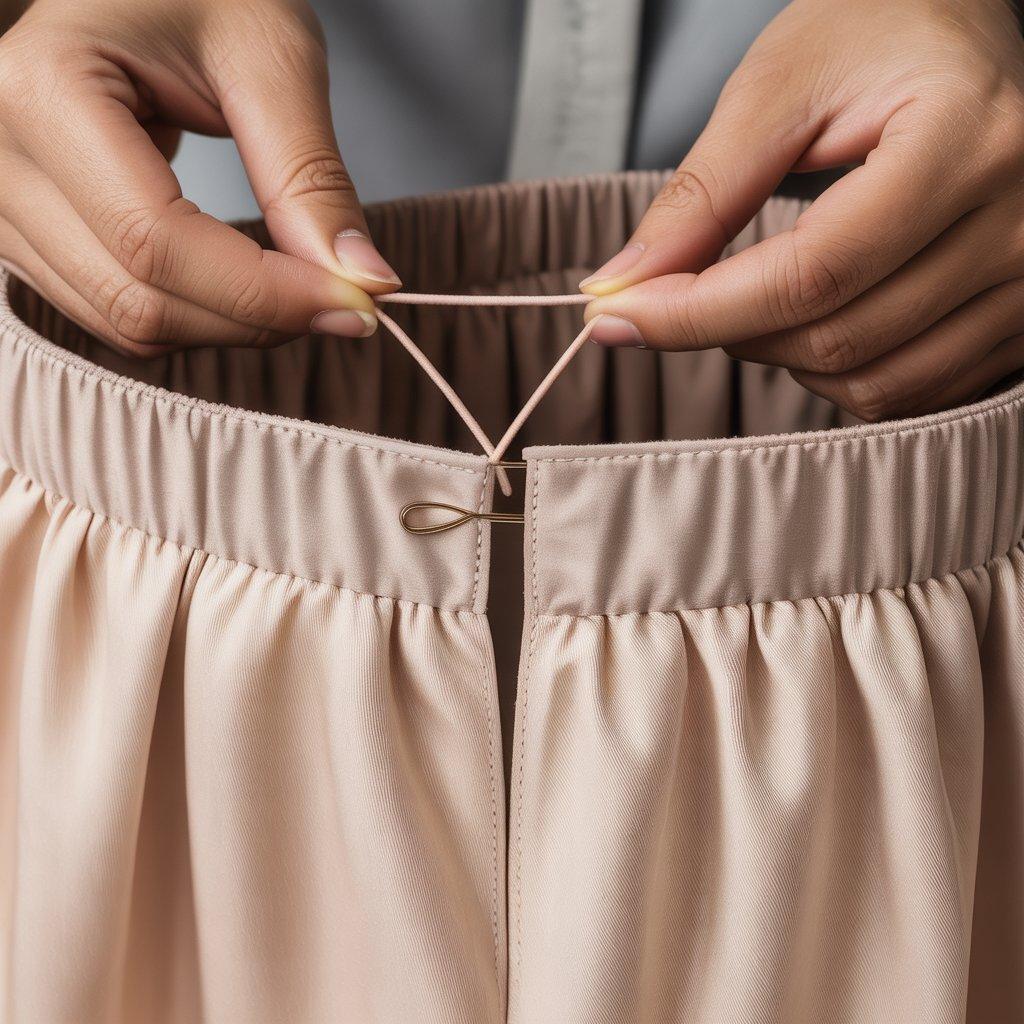
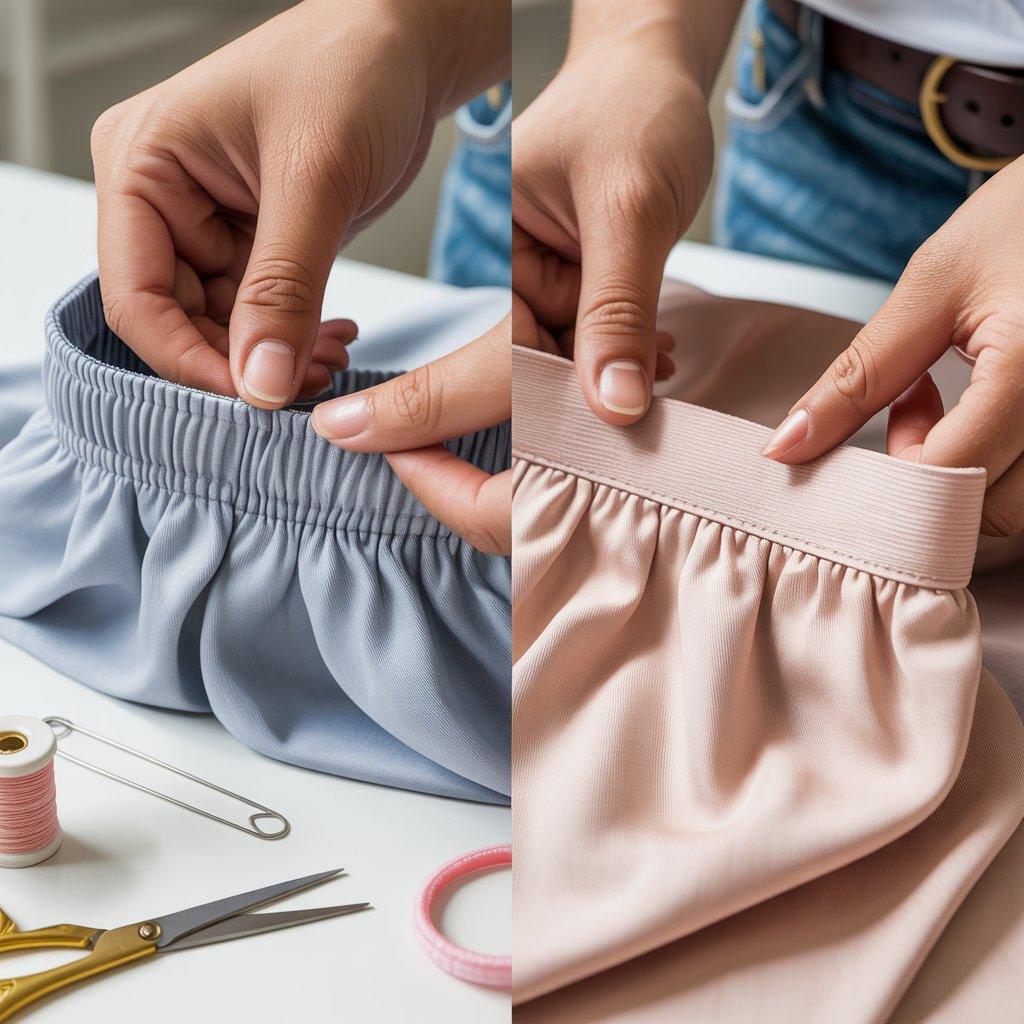
Elastic is a hidden detail that ruins many basics. Think of cheap sweatpants, shorts, or skirts. The elastic gets loose, twists inside the casing, or shows visible ripples on the outside. That ripple effect screams “cheap.” You can buy high-quality wide elastic from any fabric store for about $3 per yard.
Cut open a small slit in the waistband casing. Pull out the old elastic. Use a safety pin to thread the new elastic through. Sew the ends together. Close the slit with a few hand stitches. The new elastic will lie flat, stay tight longer, and not twist.
Your basic shorts or skirt will suddenly look much cleaner from the outside. Nobody will see the elastic, but they will see how smooth the waistband looks. That’s the point.
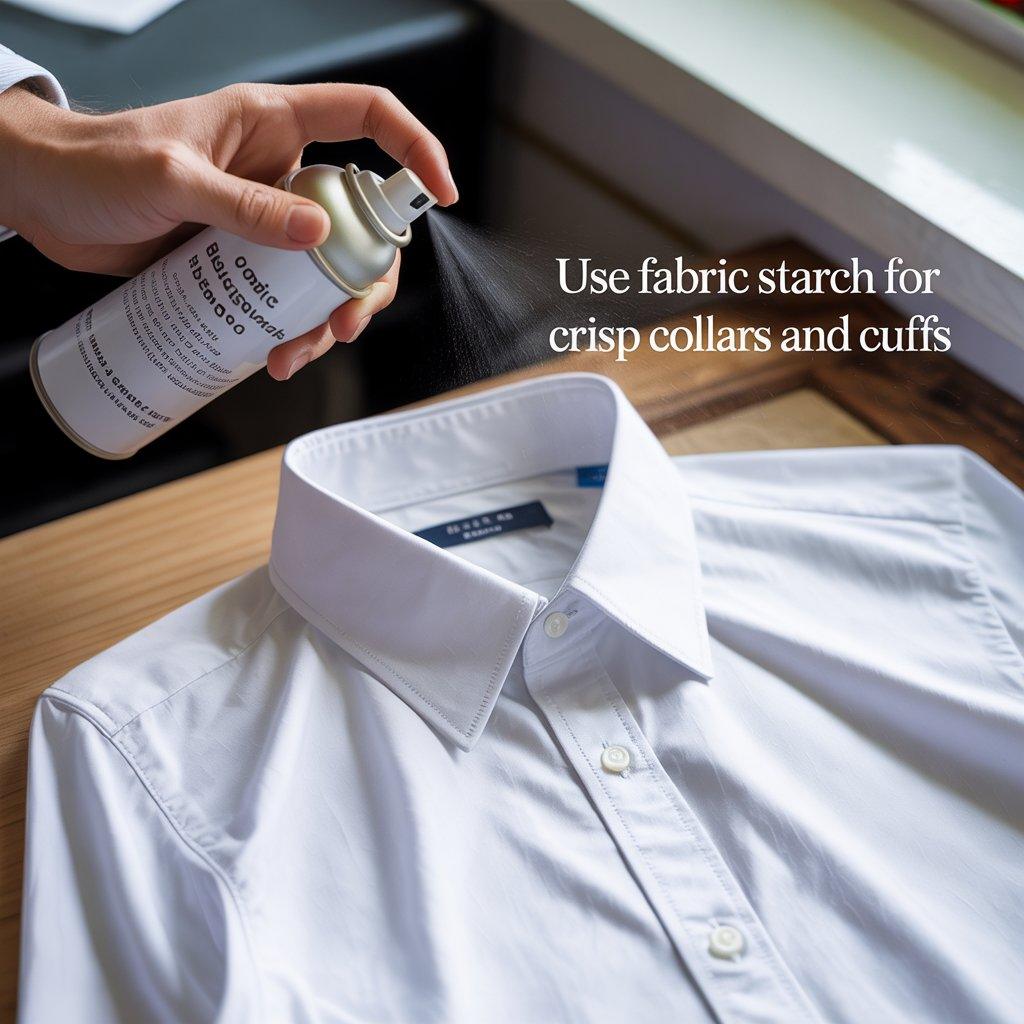
9. Use Fabric Starch for Crisp Collars and Cuffs
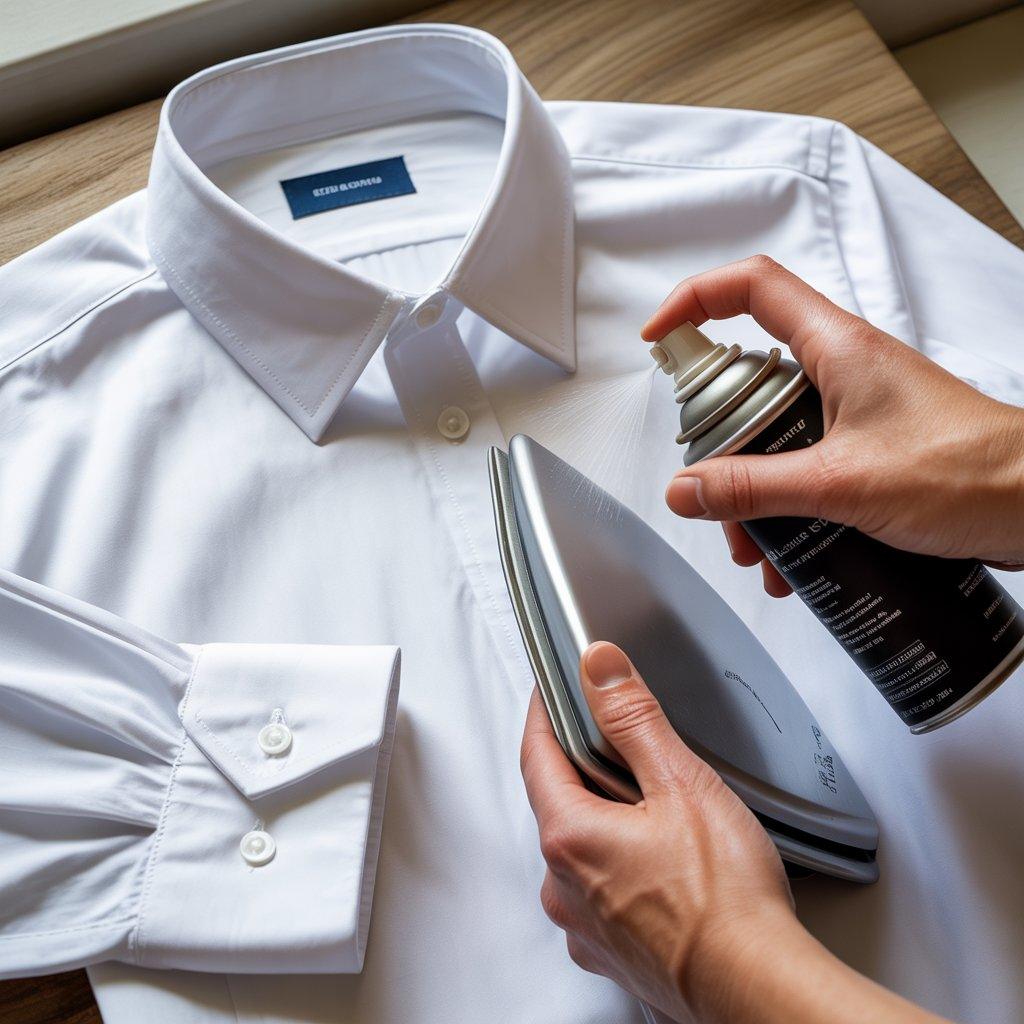
Have you ever noticed how expensive dress shirts have stiff, sharp collars that don’t flop around? That’s often from starch. You can buy spray starch at any grocery store for a few dollars. Lay your shirt flat.
Spray the collar and cuffs lightly. Then iron them on high heat until they are completely dry. Flip and repeat on the other side. The starch creates a thin, stiff layer that holds the shape. Even a cheap shirt from a big box store will stand up like a premium one.
Be careful not to overdo it too much starch can look shiny and fake. Just a light coat does the job. Do this before every wearing. It takes two extra minutes. And don’t forget to starch the placket (the button strip) so it stays straight.
10. Dye Faded Black Clothes Back to Deep Black
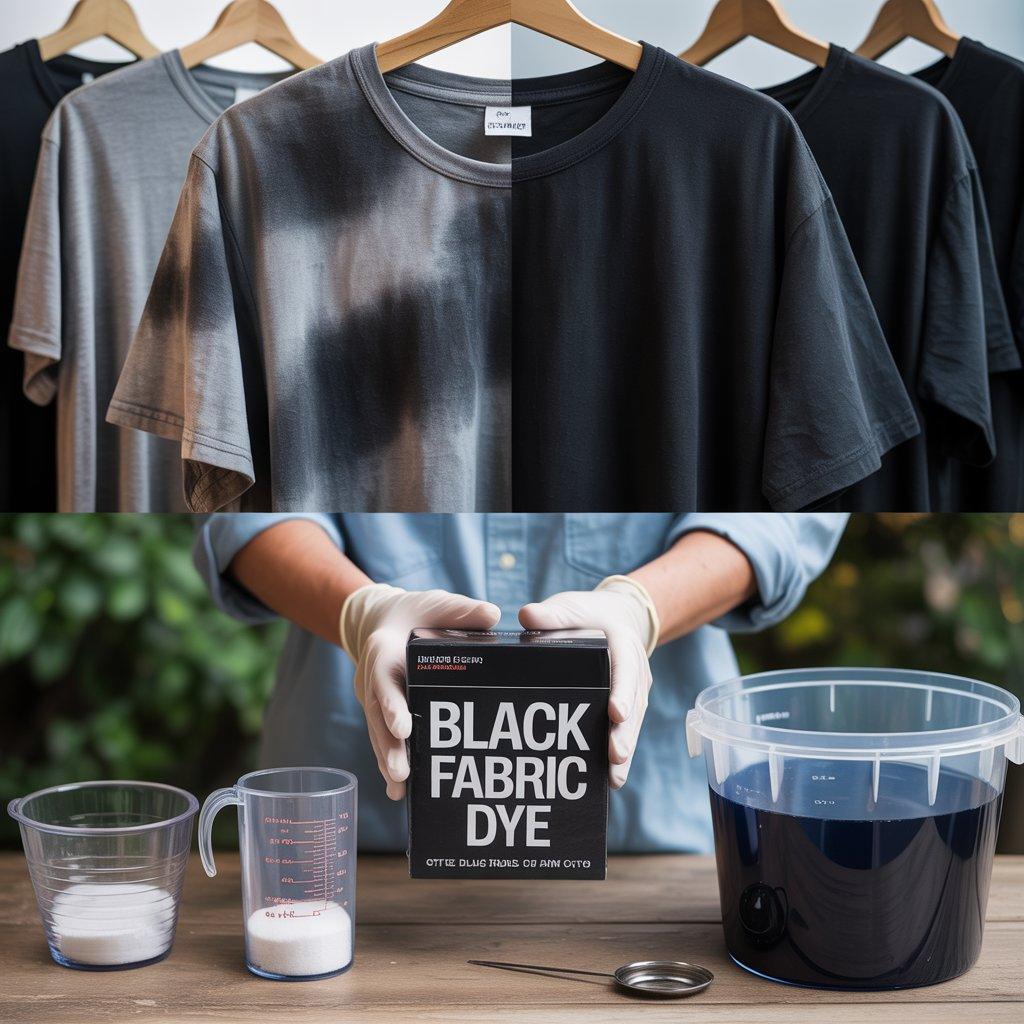
Black basics fade faster than any other color. That grayish-black look is an instant sign of cheapness or age. But you don’t have to throw them away. Buy a box of black fabric dye made for your machine or a bucket.
Follow the instructions exactly. Usually you dissolve the dye in hot water, add salt, and soak the clothes for 30–60 minutes. Then rinse and wash alone. The result is a deep, rich black that looks brand new. This works best on cotton, linen, rayon, and denim.
It does not work well on polyester or blends with more than 20% synthetic fibers. Check your tags first. One dye box costs about $5 and can dye 2–3 shirts or one pair of pants. That’s much cheaper than replacing everything. Do this every six months to keep your black basics looking premium.

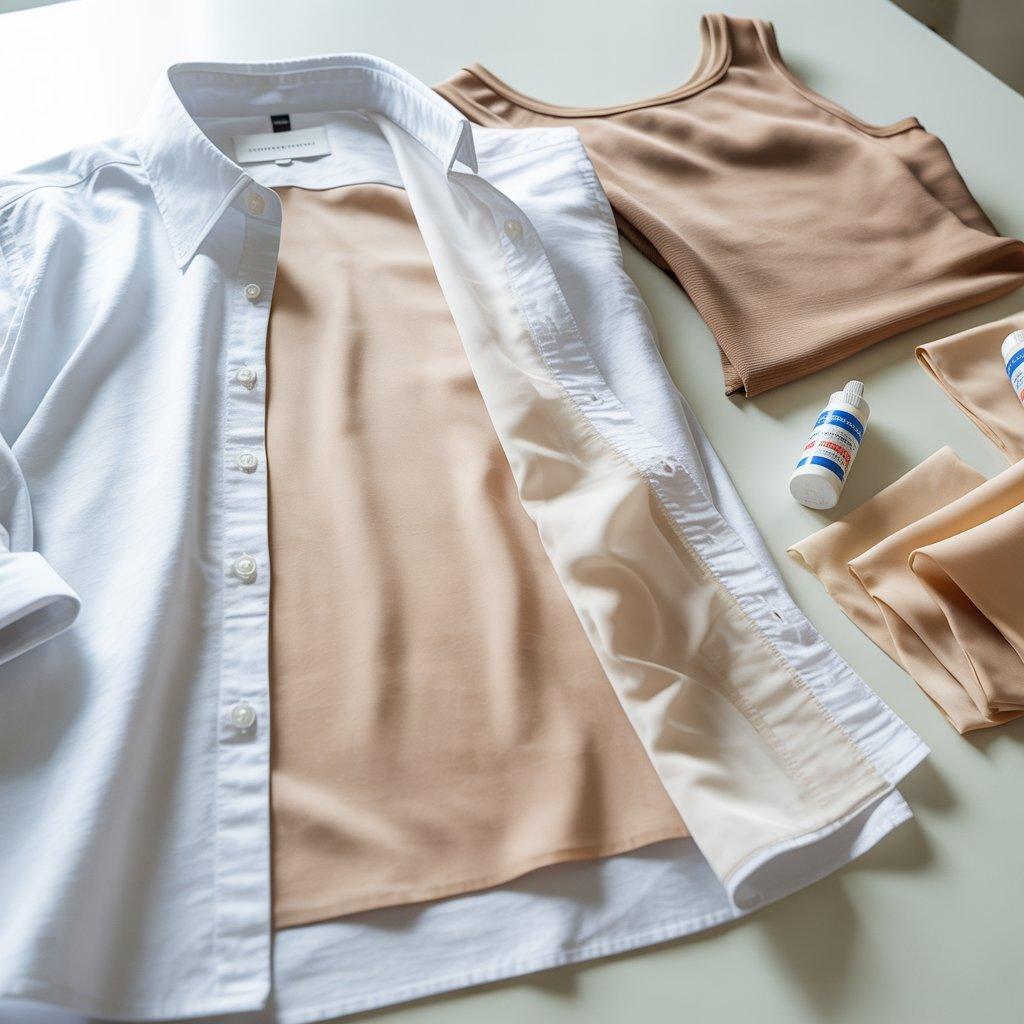
11. Line Thin White Shirts So They Aren’t See-Through
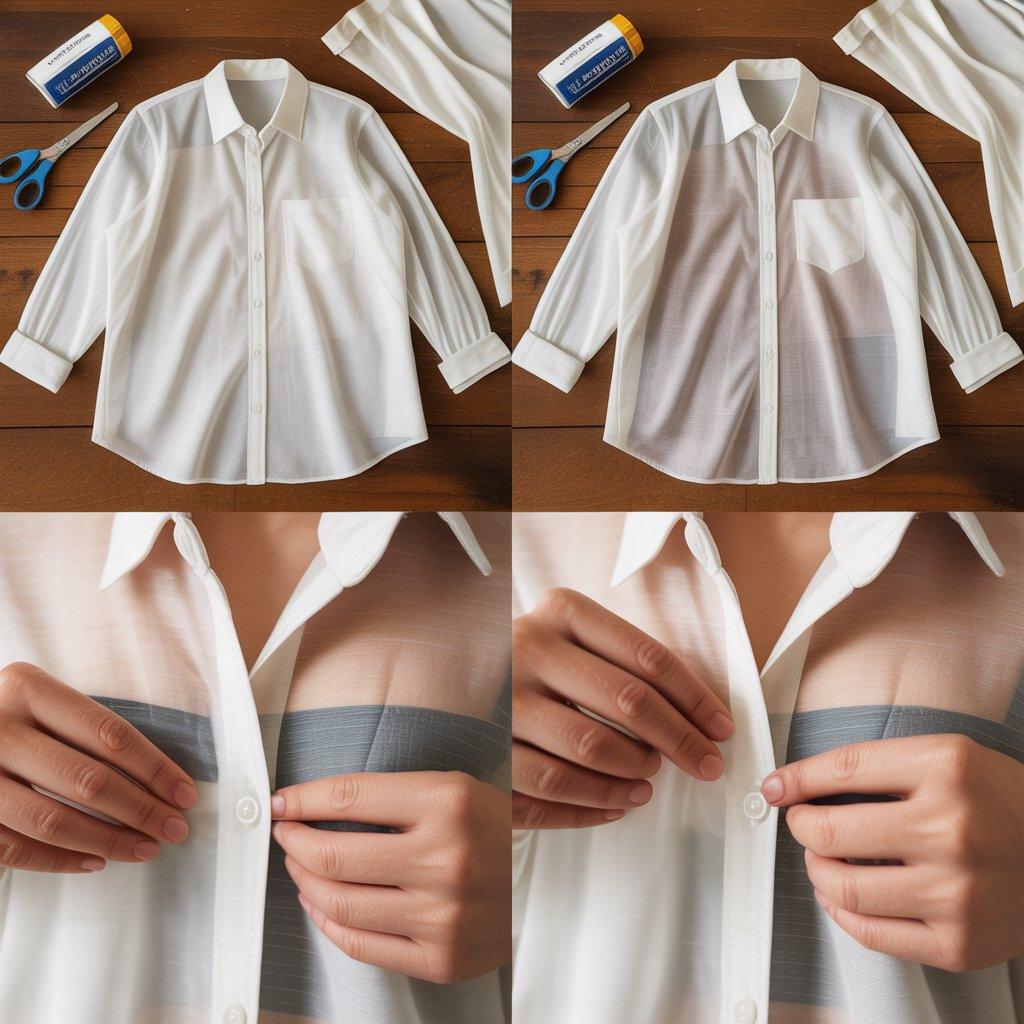
Thin white fabric is the enemy of looking expensive. When light shines through and shows your undershirt or skin, it looks cheap and awkward. The fix is a lining, but you don’t need to sew a full liner.
Buy a cheap white cotton tank top or a “half slip” in a matching nude color. Wear it underneath. That’s the easy solution. But if you want a permanent fix, buy lightweight cotton or bamboo jersey fabric from a craft store.
Cut it to the same shape as your shirt’s front panel. Use fabric glue or iron-on hem tape to attach it to the inside of the shirt, right behind the front fabric. Focus on the chest area only. This adds a second layer that blocks light without adding bulk. Now your white shirt looks opaque and substantial. That’s how premium white tees and blouses are made.
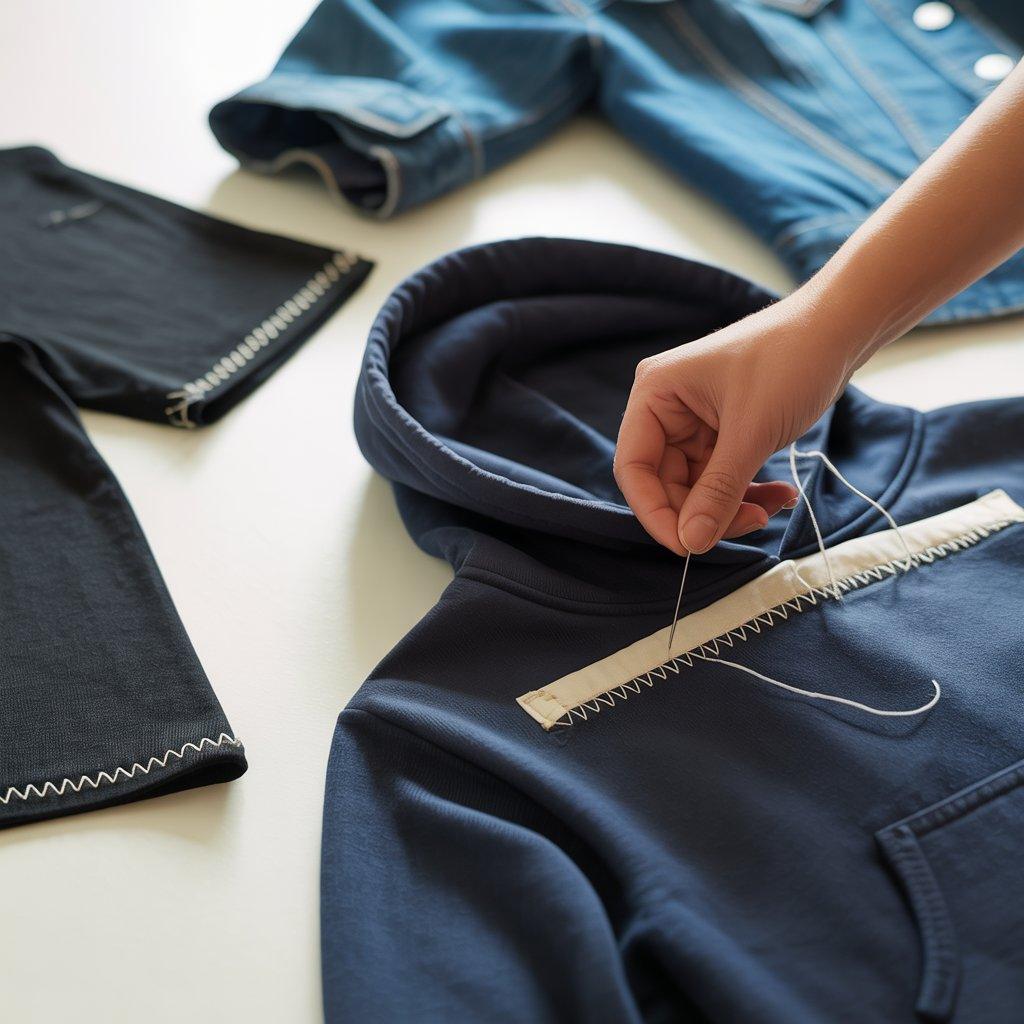
12. Change the Thread Color for Contrast Stitching
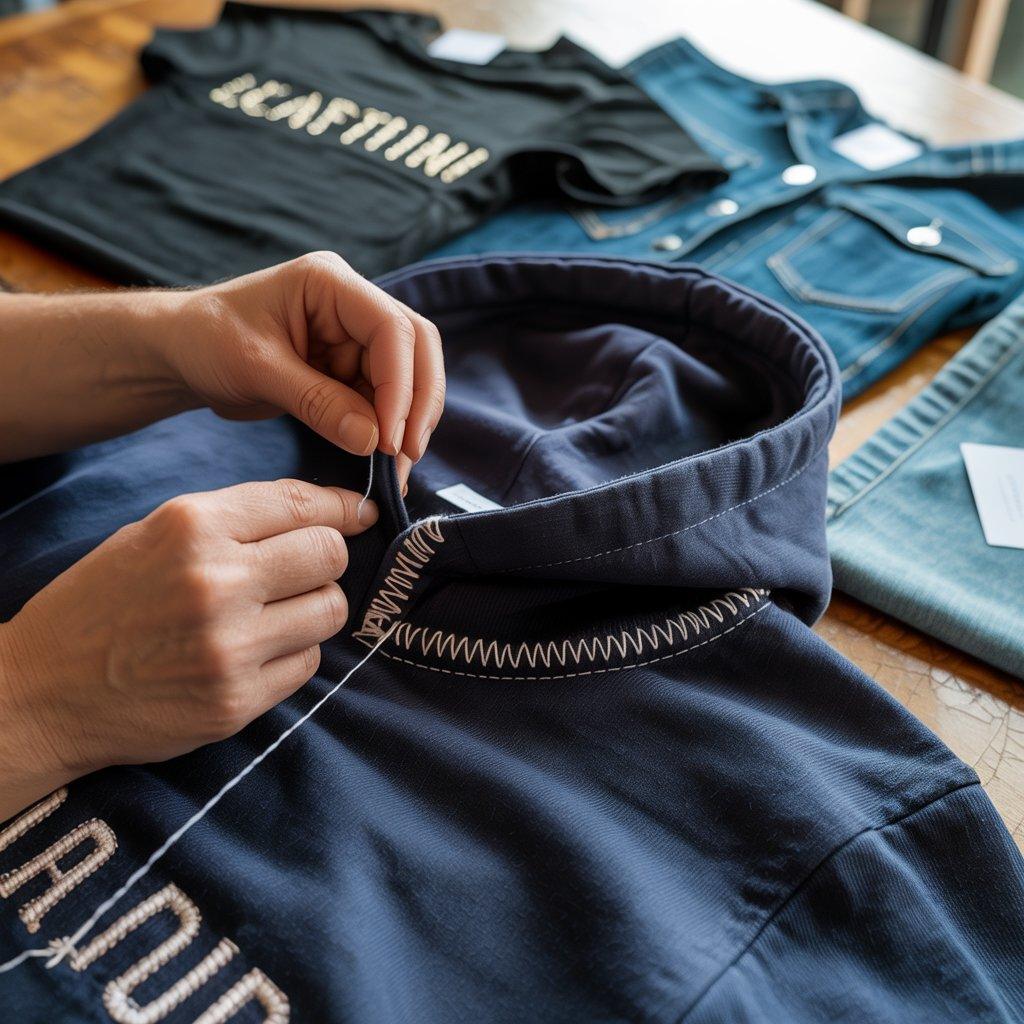
Some basic clothes look boring because all the stitching matches the fabric exactly. That’s fine for some pieces, but adding contrast stitching is a small design change that makes a big visual difference.
For example, take a plain navy hoodie. Re-stitch the hem or the pocket edge with a cream or light grey thread. Use a simple backstitch by hand. It will take patience, but you only need to do a few inches. The contrast draws the eye and makes the piece look intentional and designer-inspired.
Another idea: use a metallic thread on a black t-shirt’s sleeve hem for a subtle pop. Don’t overdo it. One or two small areas of contrast stitching is enough. Too much looks messy. This trick works best on sweatshirts, jackets, and denim.
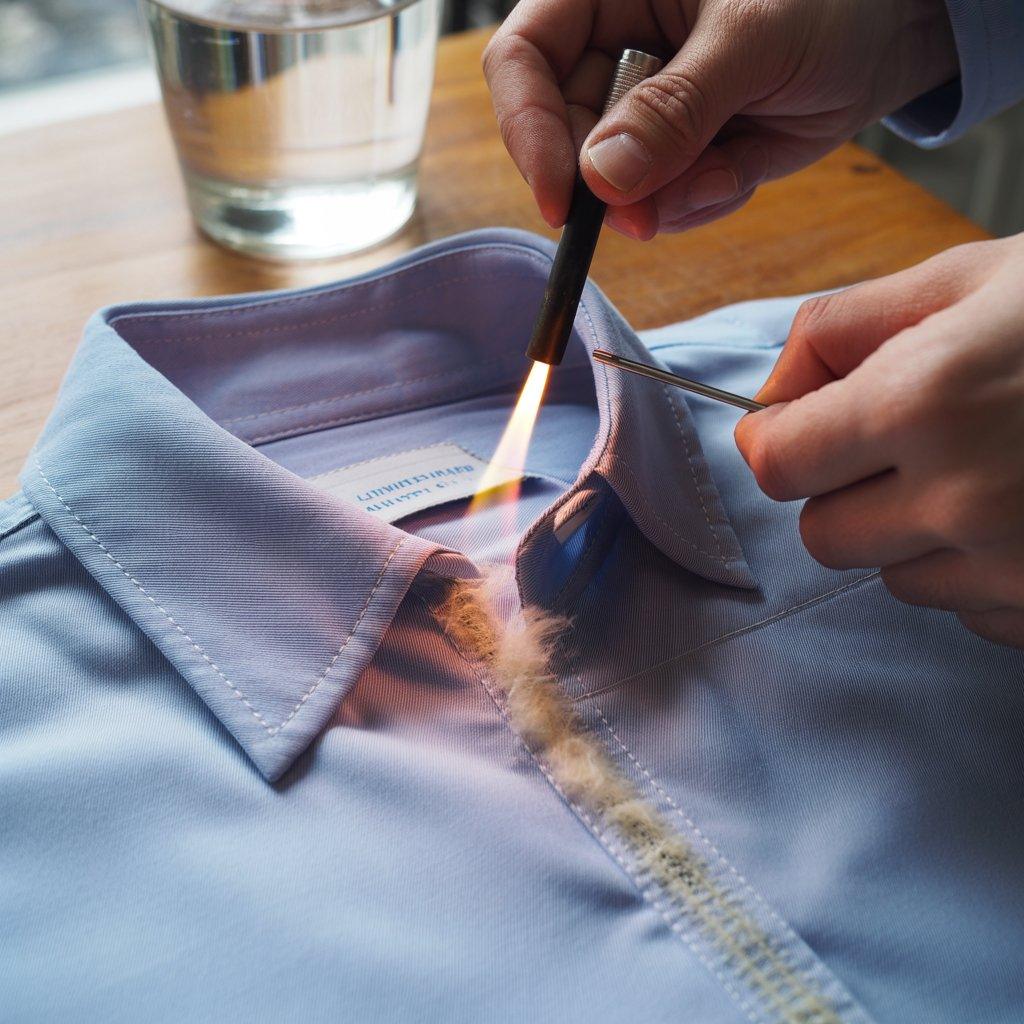
13. Burn Off Loose Fibers on Seams
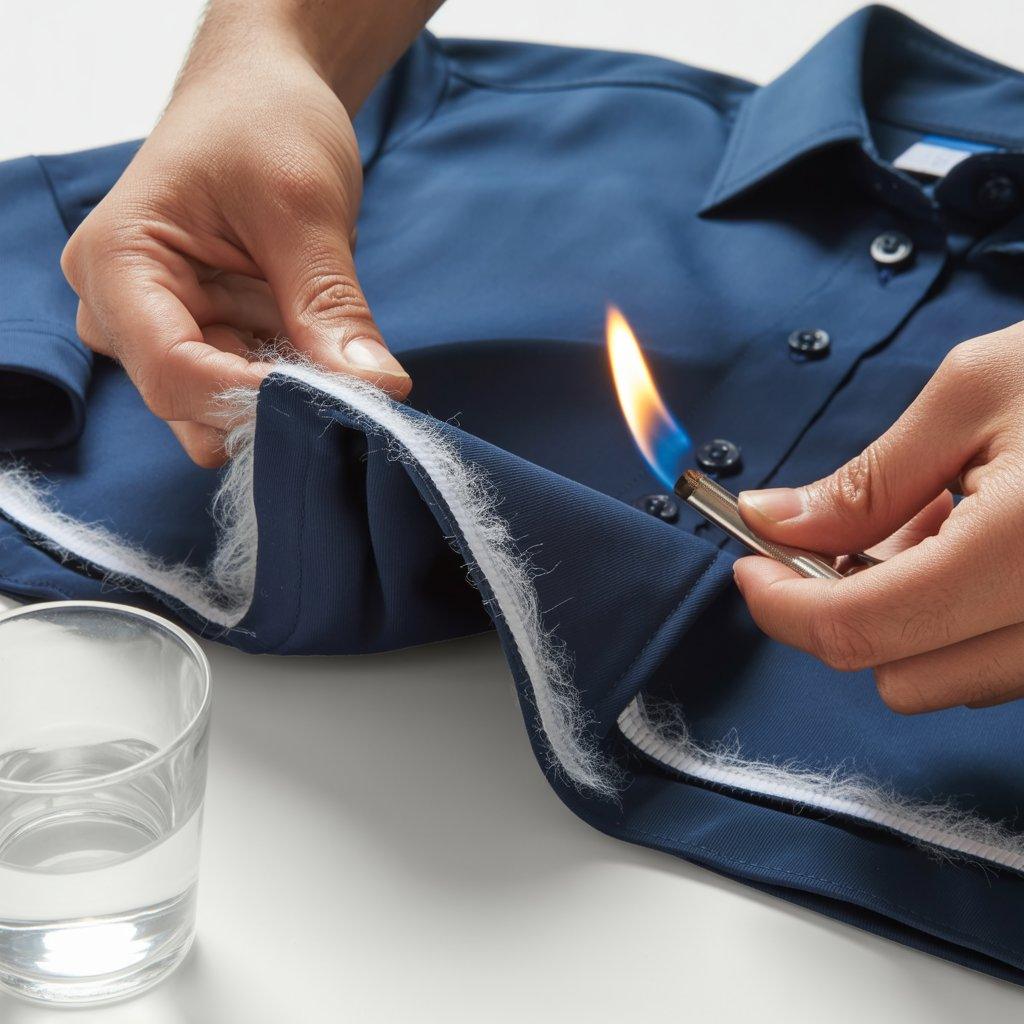
When you flip a cheap shirt inside out, you often see little fuzzy fibers sticking out of the seams. Expensive clothes have clean, burned or trimmed seams. You can fix this with a lighter. Yes, a regular cigarette lighter.
Turn your shirt inside out. Stretch the seam slightly so the fibers stand up. Quickly run the flame along the seam without holding it in one spot. The fibers will melt or burn away instantly. Do this in a well-ventilated area and keep a glass of water nearby for safety.
This works only on synthetic fabrics like polyester, nylon, or acrylic. On cotton or linen, the fibers will just burn black and smell bad, so don’t do it. For natural fabrics, use tiny scissors to trim each fuzzy bit. Clean seams are a mark of quality that most people never notice consciously, but they feel it.
Product Recommendations
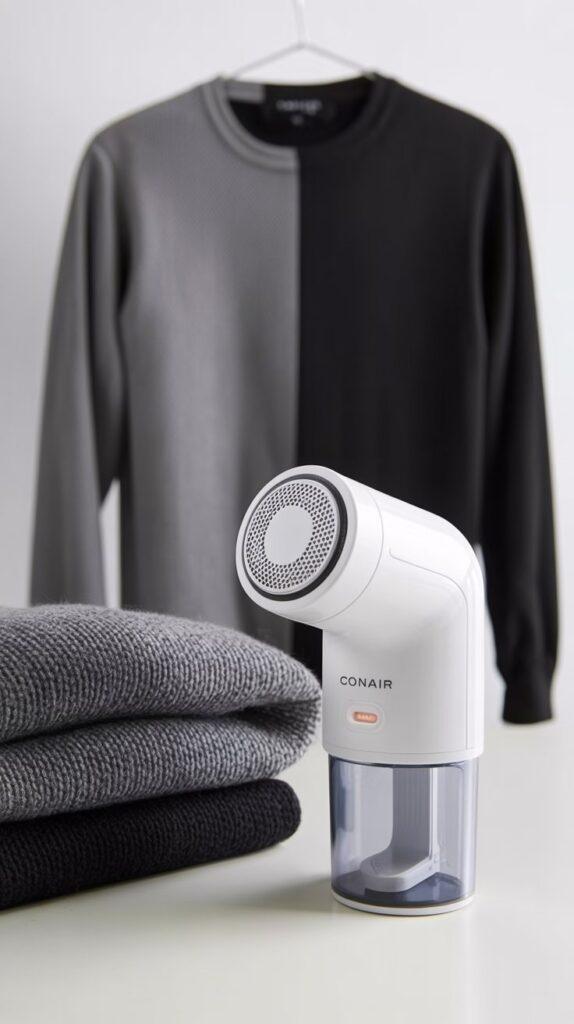
1. Conair Fabric Shaver Best for Removing Pills & Lint
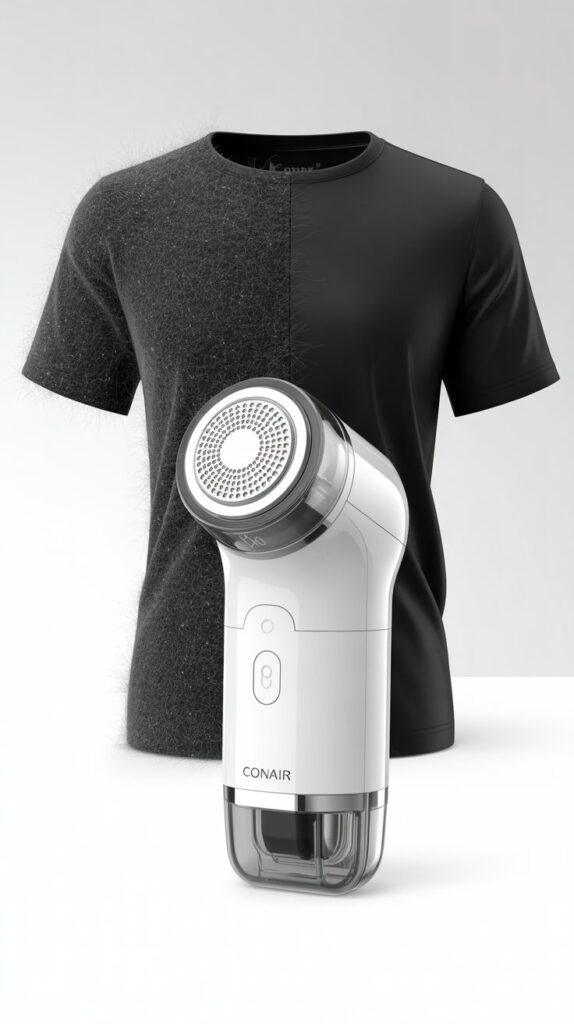
This little tool brings Tip #4 (remove pills and lint) to life. The Conair Fabric Shaver quickly shaves off those fuzzy balls that make black shirts look gray and old. Just one or two swipes, and your clothes look fresh again.
It’s battery-operated, lightweight, and has a large lint bin so you don’t have to empty it constantly. Thousands of Amazon reviewers swear by it. If you wear cotton tees, sweaters, or dark basics, this is a must-have.
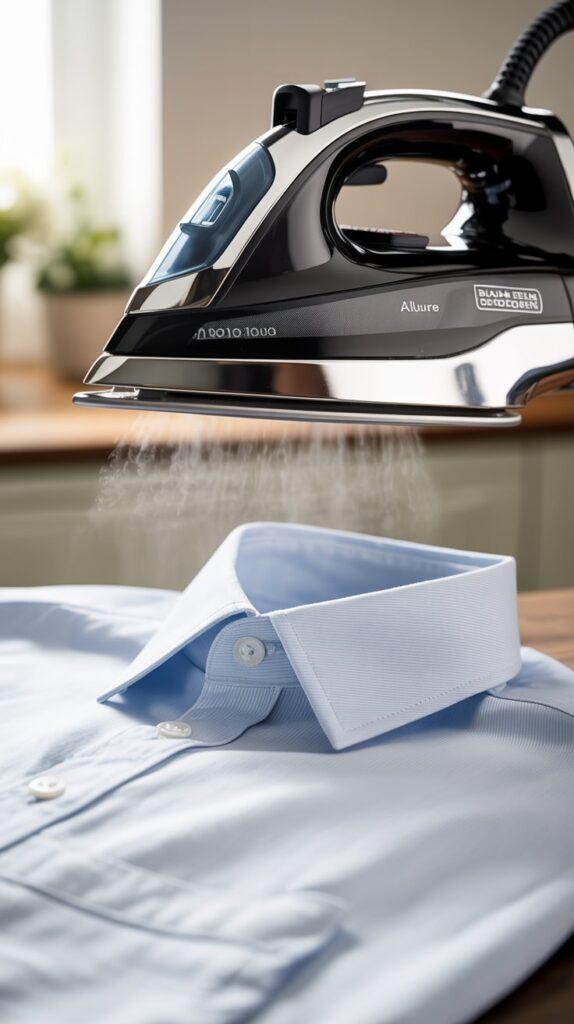
2. Black+Decker Allure Steam Iron – Best for Crisp Collars & Seams
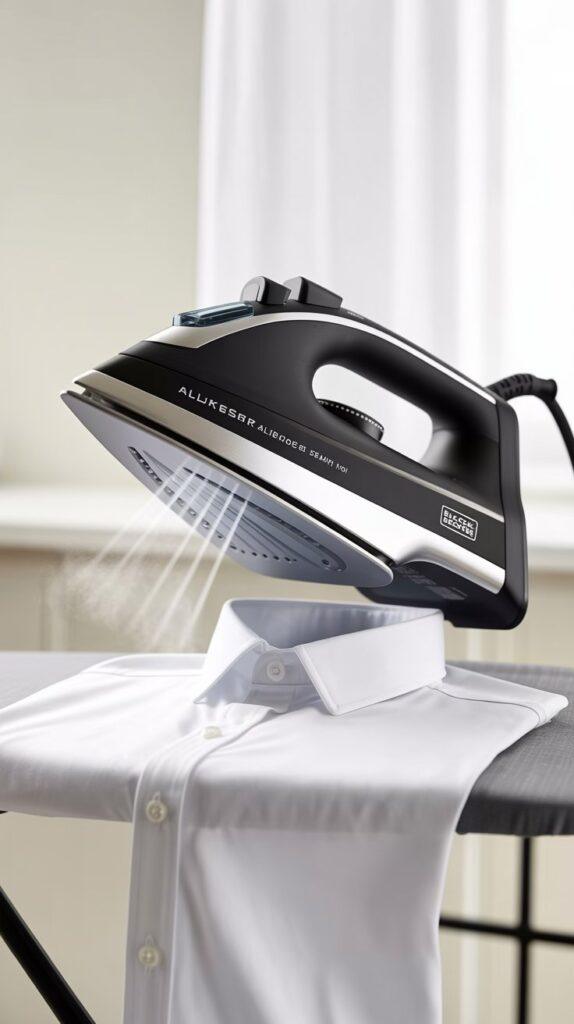
Tip #3 is all about pressing your clothes the right way, and this iron gets the job done without breaking the bank. The Black+Decker Allure Steam Iron is lightweight, powerful, and has been a Wirecutter favorite for years.
It heats up fast, delivers steady steam, and glides smoothly over cotton, linen, and blends. Use it to press collars, cuffs, and hems flat. Your basic shirts will look instantly sharper.
3. Singer Sewing Kit – Best for Beginners & Quick Fixes
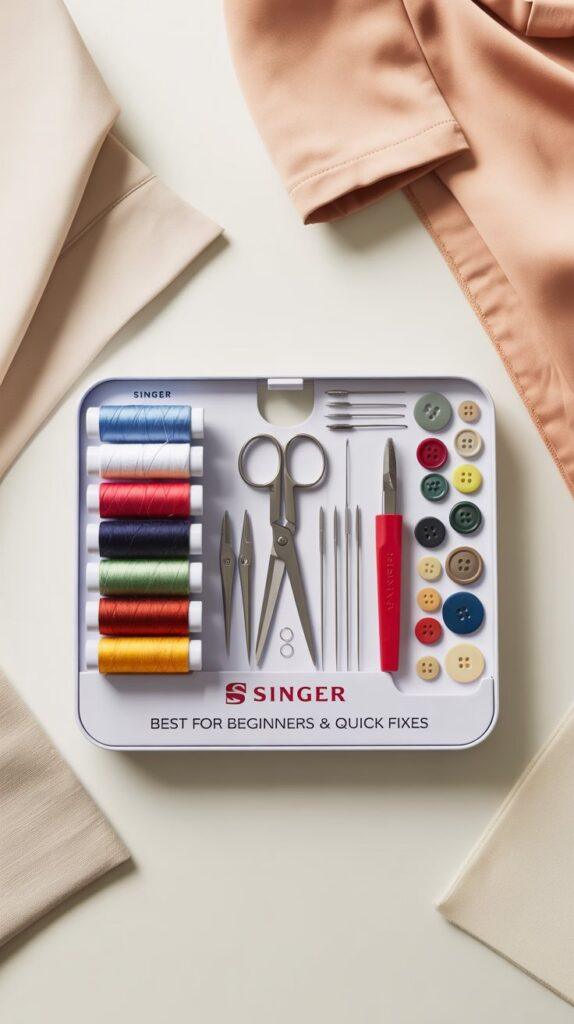
Tip #1 talks about fixing the fit yourself, and this kit gives you the tools to do it. The Singer Sewing Kit comes with needles, thread in multiple colors, scissors, a seam ripper, and even extra buttons.
It’s affordable, portable, and perfect for small alterations like taking in a side seam or sewing on new buttons. Keep one at home or throw it in a drawer for emergency fixes. A basic sewing kit like this can pay for itself after just one or two repairs.

Helpful Sections
Tips (quick reminders)
- Always trim loose threads before wearing a new shirt.
- Store basics folded, not hung, to prevent stretching.
- Wash in cold water and dry on low heat to keep fabric crisp.
- Use a tailor’s chalk to mark where you want to take in a seam.
- Buy one size up if you plan to alter down; it’s easier to remove fabric than add it.
Mistakes to Avoid
- Don’t use too much starch. It makes fabric stiff and shiny in a bad way.
- Don’t ignore the inside seams. Trim any rough edges.
- Don’t buy shiny polyester. Look for cotton, linen, or wool blends.
- Don’t skip the iron. Wrinkled “wrinkle-resistant” fabric still looks lazy.
- Don’t over-wash your basics. Washing fades color and breaks down fibers.
FAQs
Q: Do I need a sewing machine to make basics look premium?
No. Almost everything here can be done by hand or with no sewing at all. Hand stitching is slower but gives you more control.
Q: How much time does it take to alter one shirt?
Swapping buttons takes 10–15 minutes. Taking in a side seam takes 20–30 minutes. Pressing takes 5 minutes. You can do one shirt per evening.
Q: Will these changes work on very cheap fabric like $5 t-shirts?
Yes, but there’s a limit. Very thin fabric will always look thin. Focus on mid-range basics from stores like Uniqlo, Target’s Goodfellow, or H&M’s premium line. Those are worth upgrading.
Designs or Styling Ideas
- The crisp white tee: Buy a heavyweight cotton tee. Trim the sleeve hem so it sits right at mid-bicep. Press the collar flat. Tuck it loosely into dark jeans.
- The simple black pants: Remove the brand tag from the waistband. Iron a sharp crease down the front. Cuff the hem once for a clean break.
- The basic cardigan: Swap plastic buttons for matte black metal ones. Remove any loose pilling with a razor. Wear it over a plain grey t-shirt.
Conclusion
You don’t need a rich person’s budget to look like you care about your clothes. Basic clothes can look premium when you focus on fit, small fixes, and good habits. Swap a few buttons. Press your seams. Remove the pills. Choose solid colors. These are things anyone can do in an evening. Start with one shirt or one pair of pants. See the difference for yourself. Then keep going. Your wardrobe will thank you, and so will your wallet.
Related Post: